How to connect Meeting Room Schedule in a Federated Environment?
The basic Microsoft Authentication is deprecated after 13 Oct 2020 for Microsoft 365 (formerly known as 0365). The new MS OAuth v2 requires authenticating the app/user and using it as a delegate to get the access token for the resource. Read the basics for connecting to your Microsoft 365 (formerly known as 0365)/Exchange resource here.
In some environments, our customers have the federation setting in AAD (Azure Active Directory) enabled for the user sign-in for authentication and authorization. After activating this sign-in method, the user’s authentication occurs inside an on-premises environment.
The reason a federated user fails with the resource owner password grant flow is because for a federated user Azure active directory has to redirect the user to the specific federation server that belongs to the user’s on-premises domain. This active directory federated server get the authentication done with the local domain controller, but in resource owner password grant flow, this redirect is not possible hence it is not able to validate the username and password. More information can be found at Microsoft here and here.
If this is your case, please follow these steps, this will allow the federated user to authenticate directly from Azure AD for the Meeting room schedule.
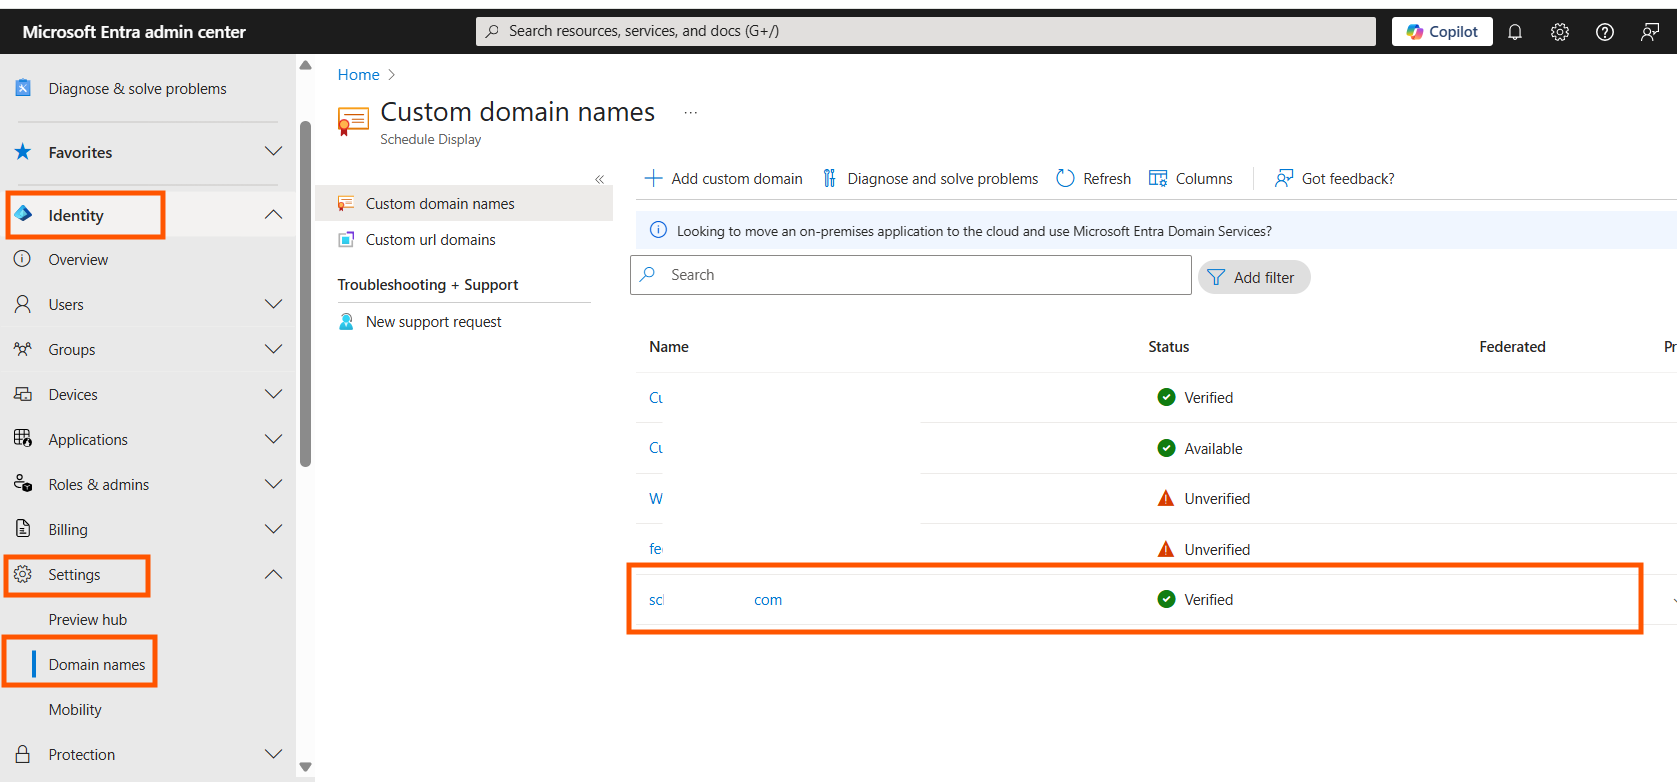
1. First make sure that the federation is enabled for your domain. Go to Microsoft Entra Admin Center and sign-in as an admin.
2. Go to Identity, Settings, Domain names. Here you can see if the Federation is enabled/disabled for your domain under Federated.
3. If the federation is enabled then perform the following steps to allow Meeting room schedule to use the federated resources.
4. Run Windows PowerShell an as administrator and run the following command to download and install the latest version Latest version of AzureAD PowerShell Module. Check this powershell documentation from Microsoft.
Install-Module -Name AzureADPreview -RequiredVersion 2.0.2.105
You can find it here

5. Run the following command and sign-in with Global Administrator account.
Connect-AzureAD

6. After the successful sign-in you will see the following information.

7. Run the following command and copy the policy id of the ROPC4ADFS policy from the output. Replace federatedDomain.com with your actual federated domain. If you face an error while creating a new policy, then read the solution from stackoverflow here.
New-AzureADPolicy -Definition @(“{`”HomeRealmDiscoveryPolicy`”:{`”AccelerateToFederatedDomain`”:false, `”PreferredDomain`”:`”federatedDomain.com`”, `”AllowCloudPasswordValidation`”:true}}”) -DisplayName ROPC4ADFS -Type HomeRealmDiscoveryPolicy

8. Run the following command and copy the object ID of the service principal from the output.
Get-AzureADServicePrincipal -SearchString “Meeting room schedule”

9. Run the following command. Replace “objectId_of_the_service_principal” with the object ID from step 8 and “objectId_of_the_policy” with the policy ID from step 7.
Add-AzureADServicePrincipalPolicy -Id “73127fc8-1601-4127-8d3f-ce74efe281b7” -RefObjectId “0ccf9c5e-7de4-4977-a903-4c2e12593c6d”

10. This will allow the federated user to authenticate directly from AzureAD for the Meeting room schedule.
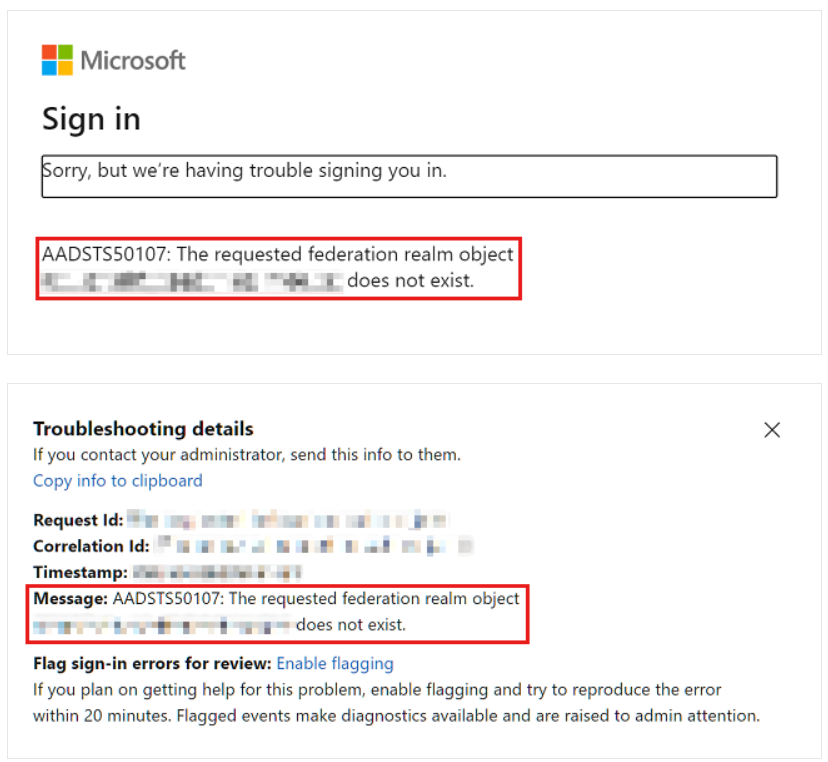
11. If you see an authentication error stating, “The requested federation realm object ‘<Object ID>’ does not exist,” follow the steps provided in the Microsoft documentation.