Enable night mode with tasker app
There are multiple options available to enable a night mode or power saving mode. Some commercial tablets have built-in functionality for power cycling. In one of the previous posts, we explained how you can make use of your camera and smart detection to enable a night mode option. To know more, check out the post “Enable night mode and smart detection using third party apps (camera wake up)”.
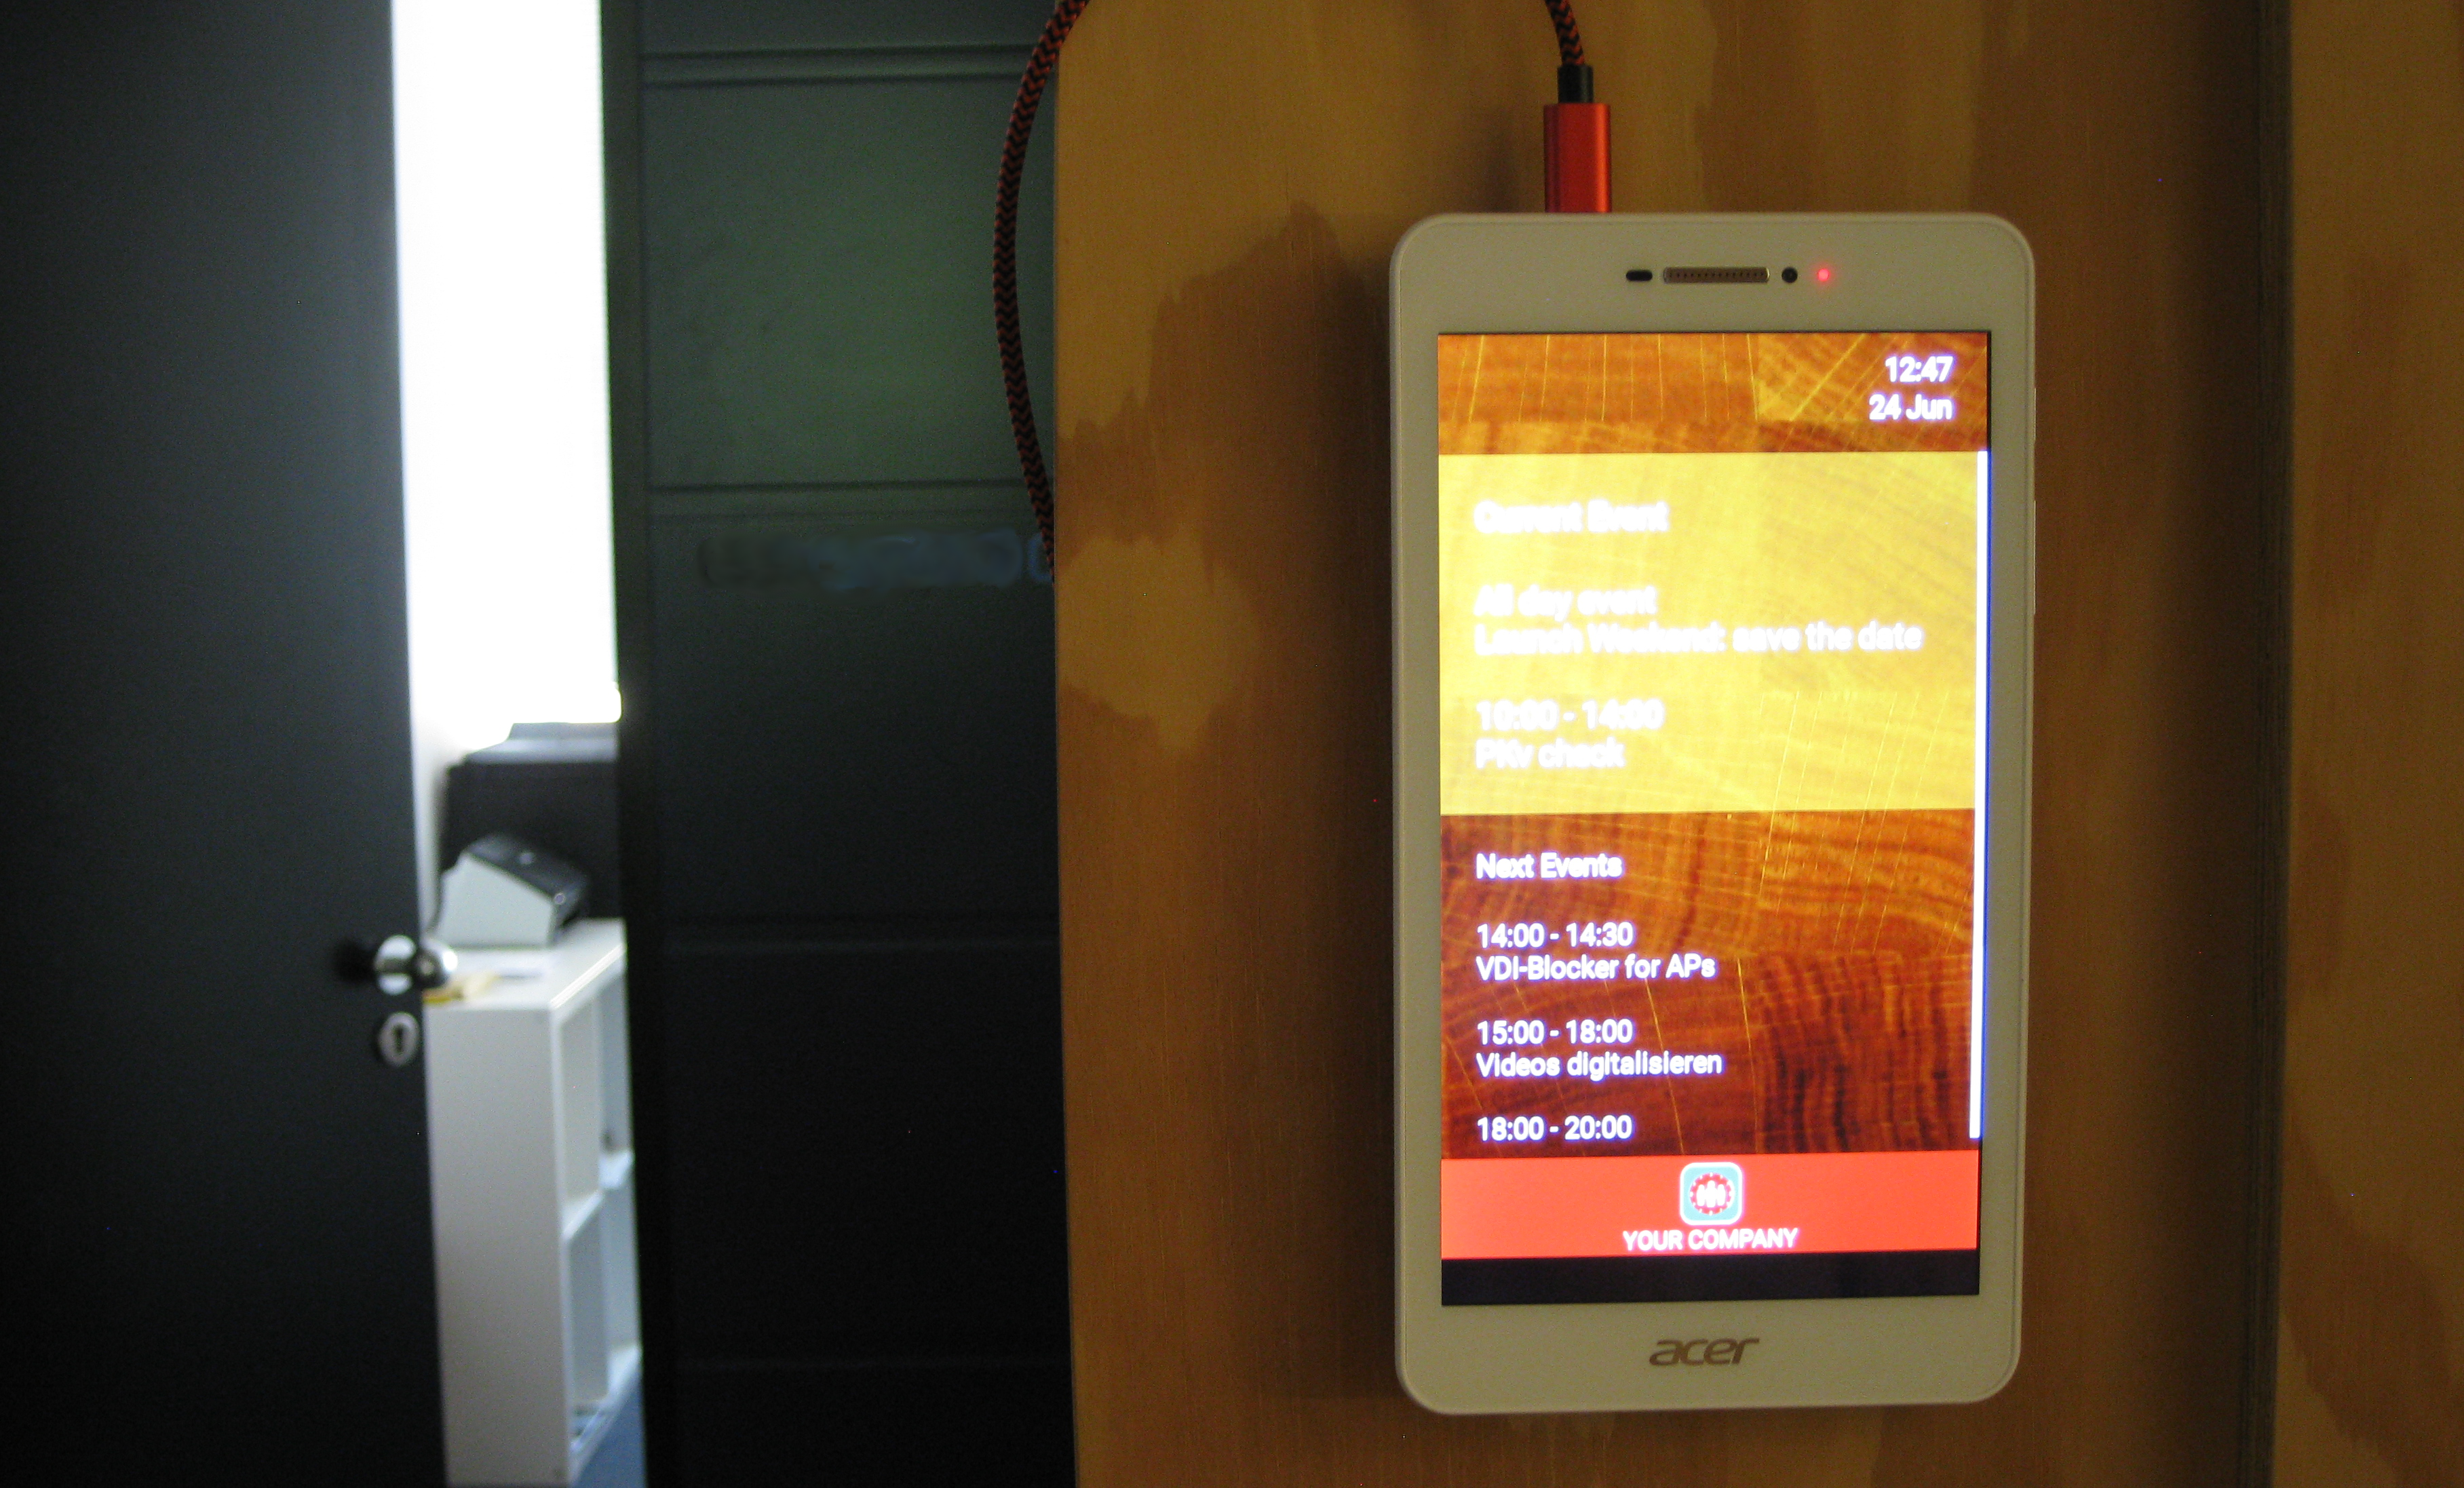
In this post we are describing how you can configure “Wake” and “Sleep” modes for the android device based on your office hours or adapt it based on your specific needs.
P.S: Please note that this method will only work when the kiosk mode is not active.
App to be installed
- Tasker application. Price: 2.99 EUR (Download here)
We must set up different profiles using the tasker app to define different modes of operation. Please follow the below steps to do so.
Steps to enable night mode
- Download the tasker app from the play store.
- Open the app and go to the menu “Scenes”.
- Tap on “+” button to create a new scene, name it “Scene1” or as preferred.
- Go to “TASKS” section.
- Tap on “+” button to create a task, name it “Sleep” or as preferred.
- Go inside the task, then click on ”+” to add a new Action, follow the sequence: “Display, System Lock”.
- Then tap on the Action to edit it, once inside it, tap on “+” to add a condition, type in the variable “%ScreenOn” (or as preferred), set the comparison condition to “Equals, EQ”, then set the value to “1”.
- Condition should be at the end: System Lock if %ScreenOn EQ (equals to) 1 (one). When finished tap on back button.
- Go back to the “TASKS” section.
- Tap on “+” button to create a task, name it “Wake” or as preferred.
- Go inside the task, then click on ”+” to add a new Action, follow the sequence: “Scene, Show Scene”, then select “Scene1”.
- Tap the action to edit it. On “Display As” condition, set “Activity, No Bar, No Status, No Nav”.
- Under the conditions section, the condition will be set as — set the variable “%ScreenOn”, then set the comparison condition to “Equals, EQ”, then set the value to “0”. Tap on back button.
- Then click on ”+” to add a new Action, follow the sequence: “Task, Wait”, the set the time to “70 MS” (70 miliseconds ). When completed tap on back button.
- Then click on ”+” to add a new Action, follow the sequence: “Scene, Destroy Scene”, then select “Scene1”. Complete and tap on back button.
- Then click on ”+” to add a new Action, follow the sequence: “Display, Keyguard”, then set it to “Off”. Tap on back button when complete.
- Again in the “TASKS” section.
- Tap on “+” button to create a task, name it “SetDisplayStateOn” or as preferred.
- Go inside the task, then click on ”+” to add a new Action, follow the sequence: “Variables, Variable Set”, then type in the variable name “%ScreenOn” and set on the “To” section to “1”. When it is completed tap on back button.
- Go back to “TASKS” section.
- Tap on “+” button to create a task, name it “SetDisplayStateOff” or as preferred.
- Go inside the task, then click on ”+” to add a new Action, follow the sequence: “Variables, Variable Set”, then type in the variable name “%ScreenOn” and set on the “To” section to “0”. When ready tap on back button.
- Go to “PROFILES” section.
- Tap on “+” button to create a Profile, follow the sequence “State, Display, Display State”. When prompted, on the “Is” section select “On”. When ready tap on back button.
- Then, when prompted, a task has to be added, select “SetDisplayStateOn” task.
- Once again in the “PROFILES” section.
- Tap on “+” button to create a Profile, follow the sequence “State, Display, Display State”. When prompted, on the “Is” section select “Off”. Tap on back button on completion.
- When prompted, select “SetDisplayStateOff” task.
- Back again in “PROFILES” section.
- Tap on “+” button to create a Profile, follow the sequence “Time”. When prompted, set the time “FROM” “8:00 AM” “TO” “6:00 PM”. On the “EVERY” section, set it to “2 Minutes”. When ready tap on back button.
- Then, when prompted, a task has to be added, select “Wake” task.
- Go to “PROFILES” section again.
- Tap on “+” button to create a Profile, follow the sequence “Time”. When prompted, set the time “FROM” “6:00 PM” “TO” “8:00 AM”. On the “EVERY” section, set it to “2 Minutes”. When ready tap on back button.
- Then, when prompted, a task has to be added, select “Sleep” task
- Make sure all the profiles are active on the “PROFILES” section. Tap and enable it if some profiles are not active.
- Test the new configuration to make sure, you have done it right.
Hope this post answered what you were looking for in terms of power saving and night mode enabling. Feel free to post your comments and queries in the comments section below.
If you want to read mode about the tasker app, here are some useful links.
http://tasker.dinglisch.net/guides.html
Leave a Comment