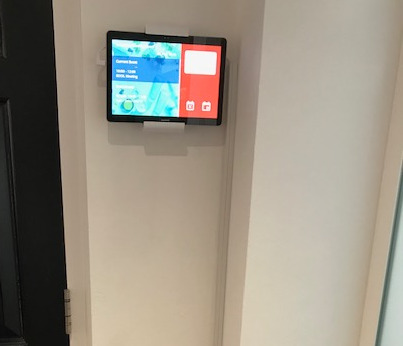
Tips on tablet wall mounts and hiding cables
How to Decide About Mounting Options for Meeting Room Door Displays
Mounting may involve an electrician to provide you the power connection and to install cable ducts. Some customers prefer to do this as a DIY (do-it-yourself) project. It depends on your craft skills and budget. If you’re in a very exclusive office interior, it might be a good idea to contact your AV (Audio-Visuals) integrator. They provided you the existing conferencing technology and they have the expertise to provide the best solution for mounting in exclusive environments – for example some rooms are surrounded by glass. Check our disclaimer below before getting started with your DIY project. Don’t drill before knowing what’s behind.
You’re not sure whether you’re up to the task of getting it mounted on you own? Most people are pretty confident with choosing a tablet mount and fixing it to the wall. But the wiring is a more advanced task. It requires you to see the possibilities though they’re not obvious. Let’s have a look at the options to get a door display wired.
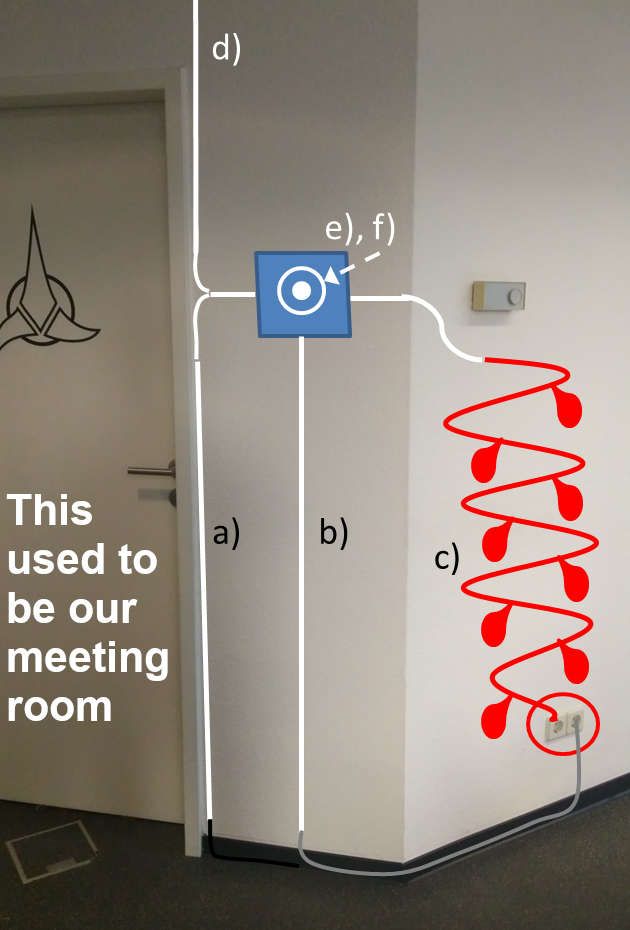
a) Getting an usb cable from nearby, inside a cable duct along the door frame – best practice here is to have no color differences. In our picture we have white cable duct on white background. We used an usb extension cable to match the color with the dark floor and the baseboard. You don’t need to reach all the way to the power socket. Check existing cable ducts nearby. Maybe you can access power in there.
b) Similar to option a), option b) takes the direct way up. You could use a cable duct that has a nice appeal and becomes a design element itself. This could be made of aluminum with a silver look or giving a wood texture. Make sure it fits to the overall interior and the background wall/panel.
c) This approach could be called “to make a virtue out of a necessity”. You choose not to hide the cable. You choose to make a piece of art. You could form a Christmas tree or write the name of the company. Some USB cables have built-in LEDs giving color effects above in the sheath layer. This is not appropriate for most of the company cultures out there. Check our Pinterest collection with some examples. USB charging cables start showing performance losses above 15 feet or 5 meter cable length.
d) Getting power from the ceiling. Unlike in residential housing, offices are very likely to have a dropped ceiling with interlocking tiles. There is power above there but you need building maintenance people or an electrician to check it. Don’t climb up.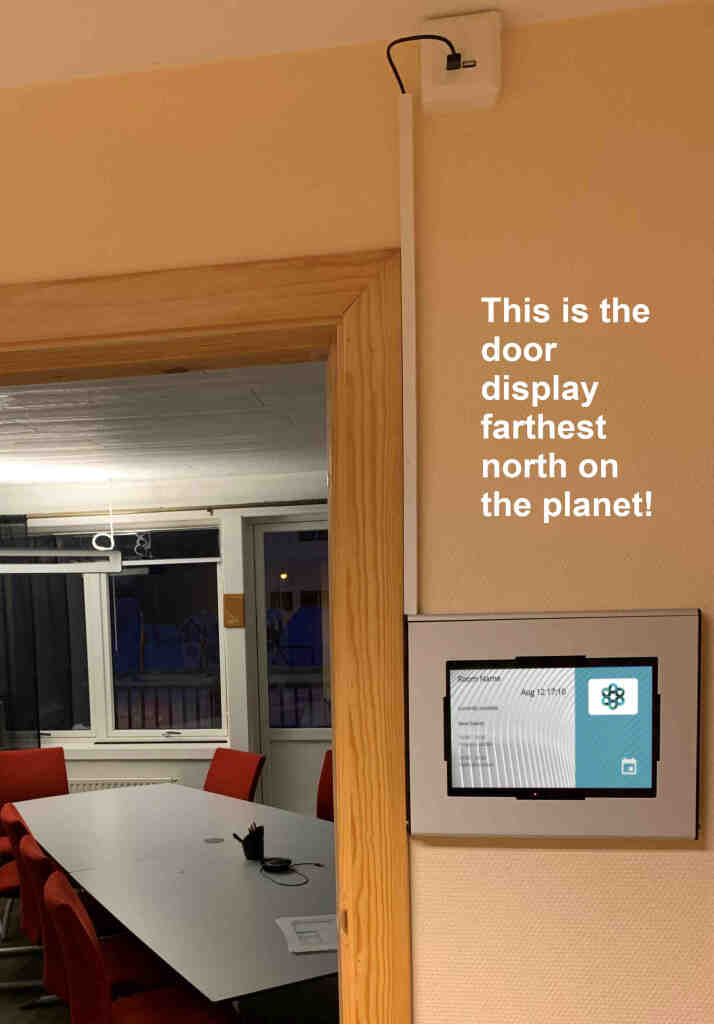
e) Get if from inside. This one is for environments where there is no way to get power from outside the room. Don’t forget that most professional tablets have PoE (power over ethernet) onboard which adds LAN cables nearby to your wiring options. If there is no socket nearby and no existing cable ducts passing by, it’s time to look inside the room. In most cases you’ll find power behind the display. That’s where the light switch should be. If you’re lucky, there is a power socket nearby. If you have a wall panel instead of massive concrete walls it’s quite easy to drill through. Try to drill behind the tablet and make your way inside the panel, reducing visible cable length as much as possible on both sides.
f) Similar to option e) but this one includes a flush mount. The tablet is much closer to the wall. You remove a bigger piece of the wall panel behind the tablet. Check this example below. (Pic simus)
g) Floor stand display. This is a good option if you really need to stay away from walls. This could be the case if everything around is made of glass or marble. Check here for a good variety of products here. Sometimes there is a floor power socket nearby. This could be even a better option. There are similar variations where the tablet mount is mounted on a counter or on top of a decorative column/pedestal. Check for fixed/portable surface mounts, again here.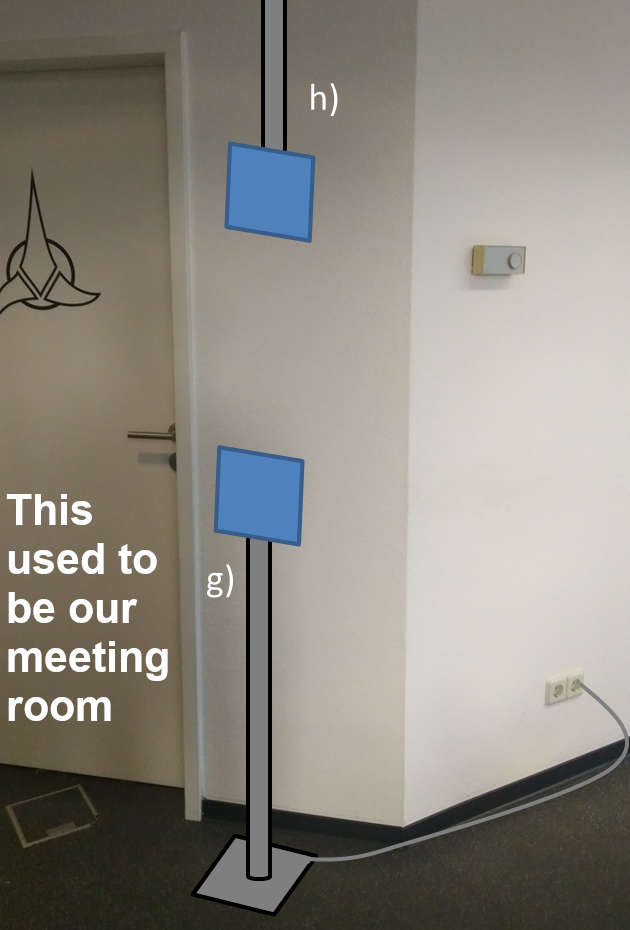
h) Ceiling mount. Like option g), this is an option when you need to stay away from the wall. There are many VESA ceiling mounts that give the standard adapter plate. This is a mass market because it’s very common for TV displays in shops or for home applications. You can use this solid plate to fix your tablet mount. Check the hole pattern before or get special VESA adapter mounts that perfectly fit. Don’t forget to check your ceiling before. Does it give a robust surface to fix the bracket? If you have tiles on your suspended ceiling, check for special mount tiles like here. If it’s above the tiles, get some professional help. Don’t climb up. Don’t drill before knowing what’s behind.
i) Wall unit (wood or other decorative finish). You’re basically creating a flat box or panel that is in front of the wall. This extra panel could cover the cables and gives the depth for a flush mount (in-wall tablet mounting, check this link). The illustration shows a small version but this concept could be extended from floor to ceiling and have the width to cover much more space than needed for the tablet.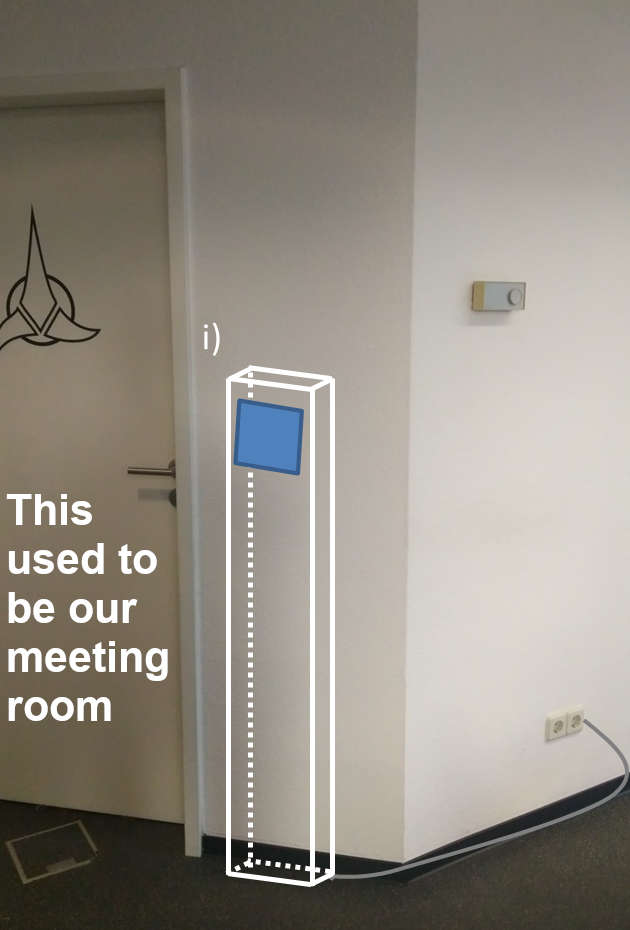
There are more possibilities. Share your wide angle door area photos with our support and ask for suggestions.
DIY (Do-It-Yourself) Disclaimer
You are responsible for verifying the applicability to your project. You are responsible for knowing your limitations of knowledge and experience. If you work with 120 Volt or 240 Volt power wiring, consult a licensed electrician. Use these suggestions at your own risk.
Scheduledisplay.com disclaims all responsibility for any resulting damage, injury or expense. It is your responsibility to comply with laws and tenancy agreements.
Wall Mounts for Basic Setups with Consumer Type Tablets
If the concepts above are too advanced for you at the moment, read on. You just want to evaluate the app and don’t care about mounting? You’re a startup company and have no time&money to look good? A huge variety of tablet wall mounts, enclosures and docking stations are available in market. Some of them are tablet specific while some are universal. Here we look at few of the best options for mounting your resource schedule display quick&dirty asap.
1. Magnetic Tablet Wall Mounts
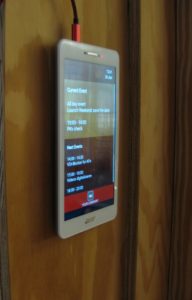 You can attach a magnetic strip on the back of your tablet and easily mount on the wall using a magnetic wall mount. There are number of magnetic wall mounts available with and without charging options. A mount with charging option can be suitable for permanent wall mount for Meeting rooms or other resources. However, a non-charging wall mount can be better utilized for displaying personal calendars using Meeting Room Schedule app. This type of wall mount allows free movement and rotation of the app as per your convenience.
Few examples of Magnetic mounts available in market : Intuitive tablet mount , iOmounts, XVIDA
Alternatively you can do a magnetic wall mount yourself. Check out a really cool DIY mount with charging example.
2. Non-Magnetic Tablet Wall Mounts
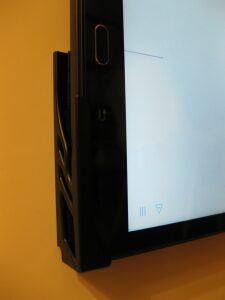
While a magnetic wall mount can be convenient, some people prefer to have more robust non-magnetic wall mount. As always, you can find these types of dockets in all sizes and shapes and suiting all types of tablets. The adhesive mechanisms range from screw in mounting stations to adhesive strips.
Example of non-magnetic wall mounts available in market : Dockem, Vogels
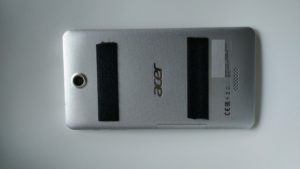
You can create a cheap and easy DIY alternative using velcro tapes.

3. Docking Systems & Enclosures
A wall docking system is recommended if you a looking for a one time secure and permanent fixture for your wall mounted tablet. Most of the docking systems come with charging solutions, while some don’t. Docking stations are more secure options compared to magnetic tablet wall mounts and are hence more suitable for commercial spaces. Some of them even have theft prevention features. They come with sophisticated attachment options like glass mounting or tilt options as well as with basic attachment like adhesive strips. You can choose them based on your budget and office or personal preferences.
Few wall docking systems available in market : maclocks, vidabox
Another cool DIY for docking system.
Cable hacks:
Usually when you go for a docking system without a charging solution or you choose to get your hands dirty and make your own wall mount, one problem you will face is hiding the charging cable. The plug point might be further away from where you want to mount your tablet which makes it even more complicated. Let us look into some smart and cool options to solve the messy cable problem.
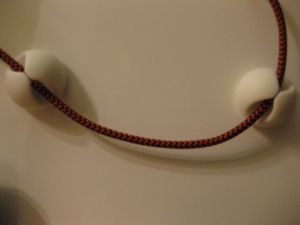
- User cables with same color as the wall and use small adhesive wall holders to route it to the nearest power socket.
- Alternatively, you can use cable holders to create patterns on the walls with the cables to give an artistic touch. Check out how to hide cables in plain sight.
- If the charging socket of the device is at the bottom, use a wall colored cable going straight down to floor level and from there to power socket. Usual electrical cord masking can be used here.
- Check out how you can show case your electrical cords.
Check out the below links for more ideas:
https://www.pinterest.com/search/pins/?q=hiding%20cables
https://www.pinterest.com/search/pins/?q=tablet%20holder%20wall
Leave a Comment