How to sync Mozilla Thunderbird with a Meeting Room Schedule door display
Starting out with meeting door displays, everybody has a different starting point. Some small businesses have an email provider and use Mozilla Thunderbird as an email client. Meeting rooms are managed with paper printouts of calendars. Sometimes there is a shared calendar created. This can be done by exporting the calendar to HTML, iCalendar format or CSV file. The file is located in a shared folder.
One way to sync the meeting room calendar is to create a Google calendar to sync with. The Google calendar is very easy to integrate with the Meeting Room Schedule door display.
Step 1: Download the “Provider for Google calendar” add-on
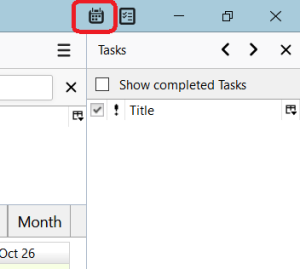
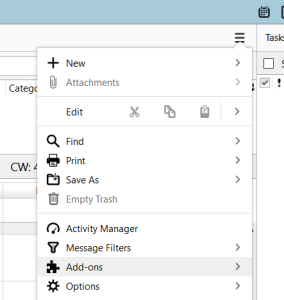
Step 3: Open the Add-ons manager by clicking on the “settings” icon and then select “Add-ons”.
Step 4: Switch to the “Extensions” tab and then drag and drop the downloaded “Provider for Google calendar” Add-on from step 1.
This is going to add the required add-on into the Thunderbird. Check the “Find more extensions” field. You can search for add-ons. You can search for “Provider for Google Calendar” if you haven’t downloaded it before.

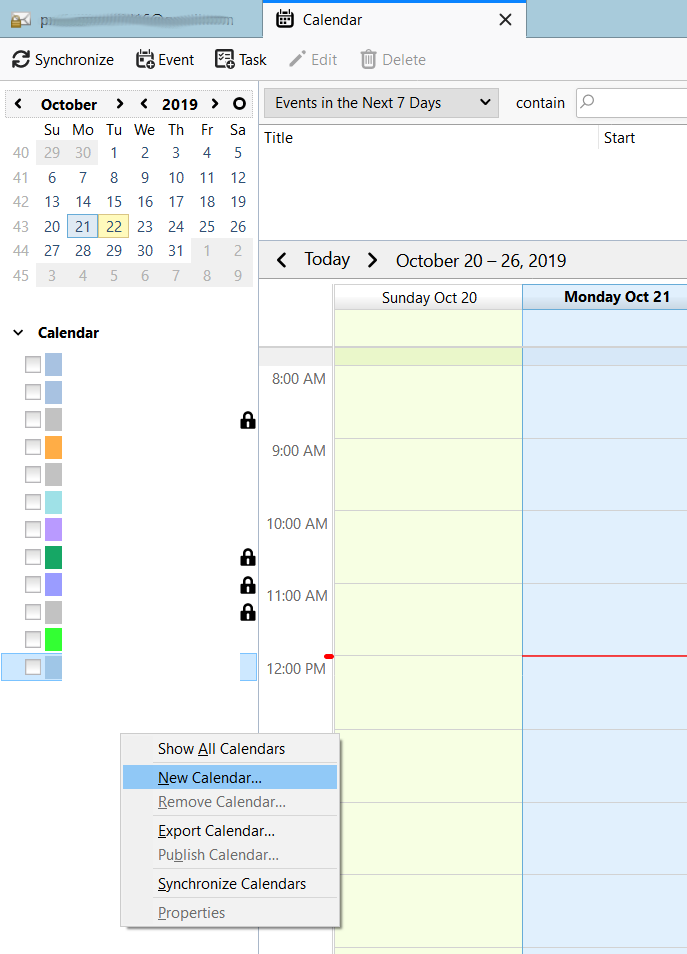
Step 5: Go back to your calendar section, right click on the empty space and select “New Calendar…”.
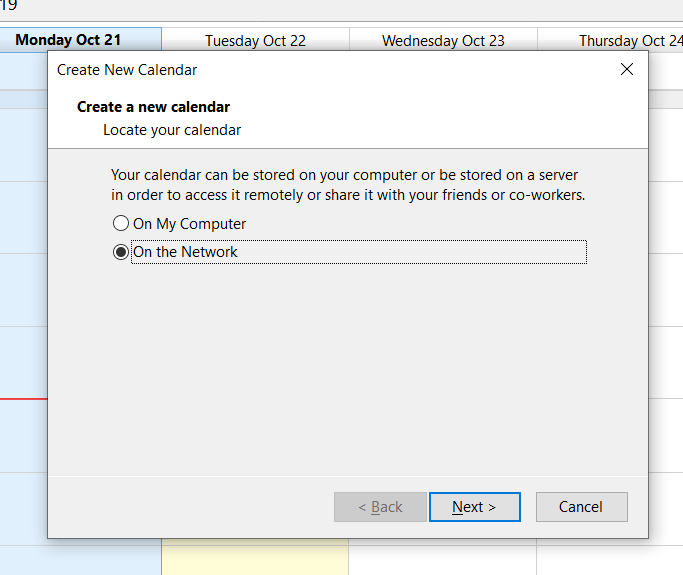
Step 6: Select “On the Network” from the resulting pop-up and hit “Next”.
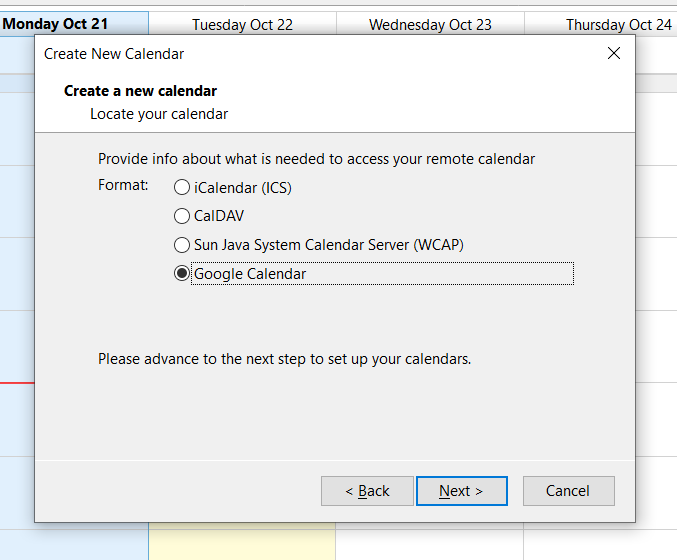
Step 7: Select “Google Calendar” from the resulting pop-up and hit “”Next”.
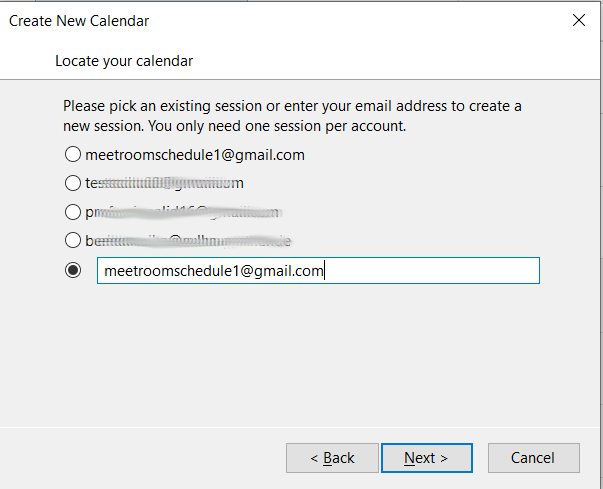
Step 8: Enter your desired Google account and hit “Next”. If you havent’t created your new Google account for your room calendar yet, it’s time to do it. Alternatively, you could go on with your personal account for evaluation purposes.
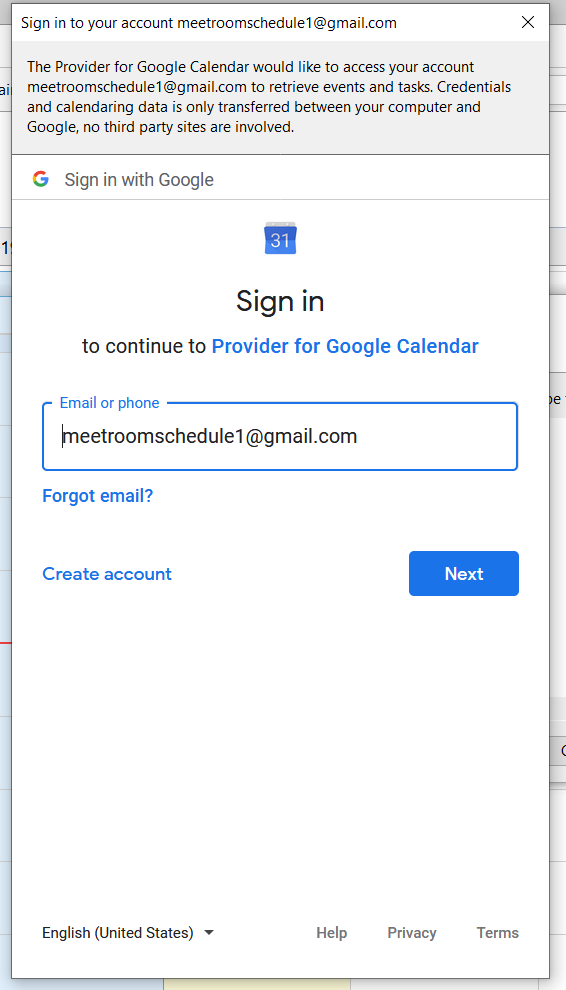
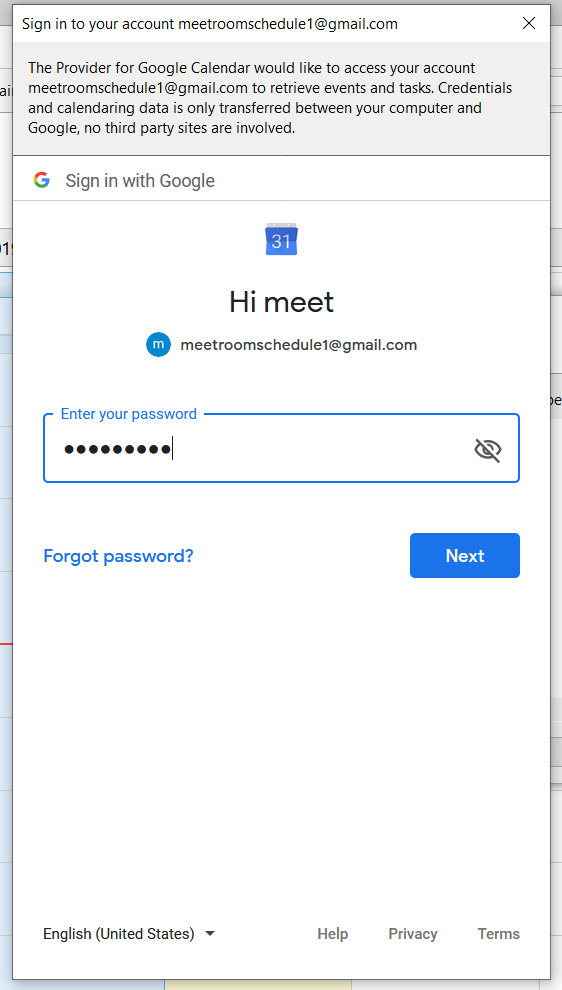
Step 9: You will be asked for the verification, provide your email address, password and allow the permission to edit your Google calendar.

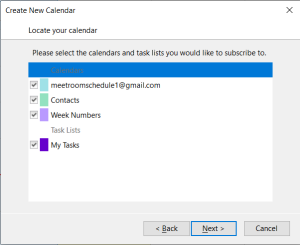
Step 10: After the verification, you will be asked to choose the calendars. You can select as many calendars as you like to synchronize. When you are done, hit “Next” and hit “Finish” on the resulting pop-up.
You are all done. If everything went well, you will see your selected calendars under the Calendar section of Thunderbird.

Step 11: Test the bi-directional synchronization by creating separate events in both the calendars.
First create an event in Thunderbird and check in Google.
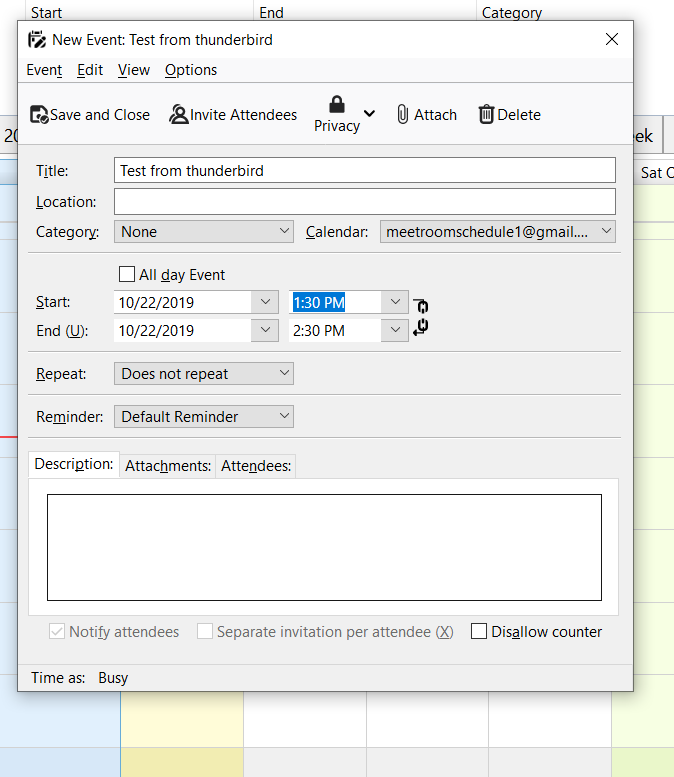
After pressing “Save and Close”, check the Google calendar. Check the time from the event above and compare both calendars.

Now we are going to create an event in the Google calendar and check it in Thunderbird.
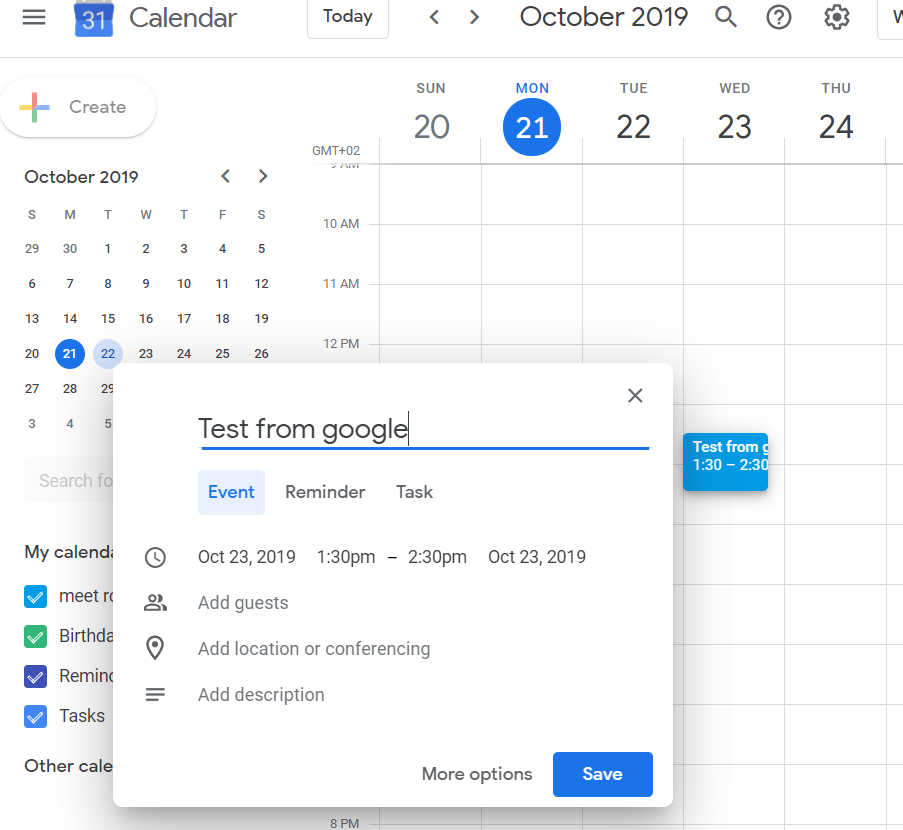
After pressing the “Save”, check the calendar in the Thunderbird. If the event is not visible immediately, press “Synchronize” at the top left corner in the Thunderbird.
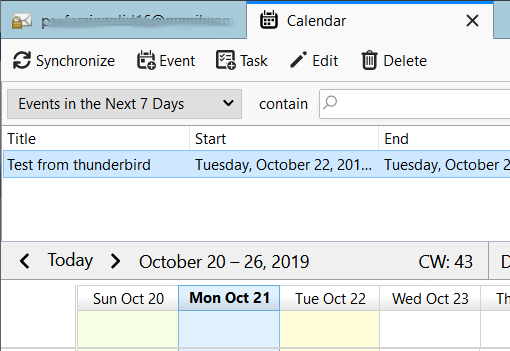
The new event should be visible after the synchronization.
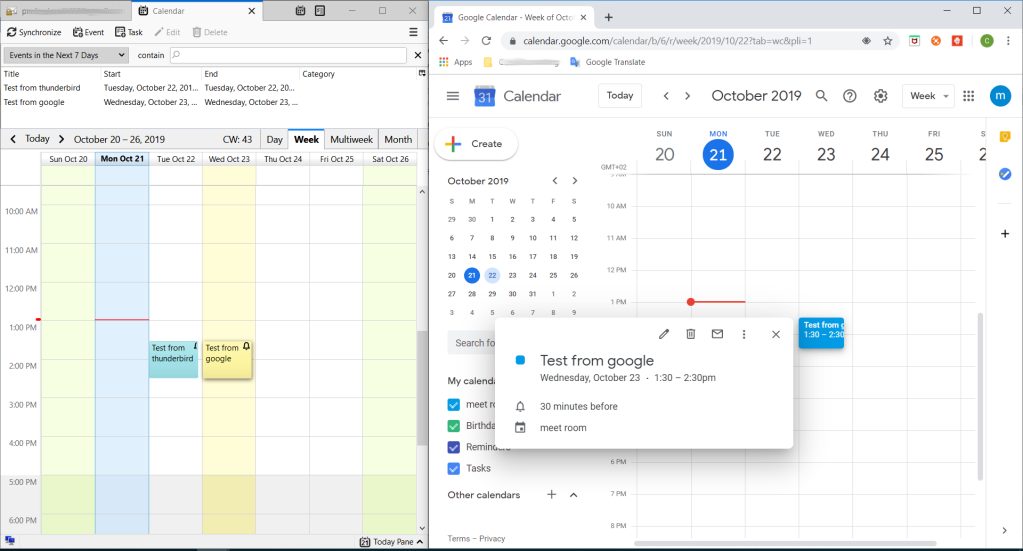
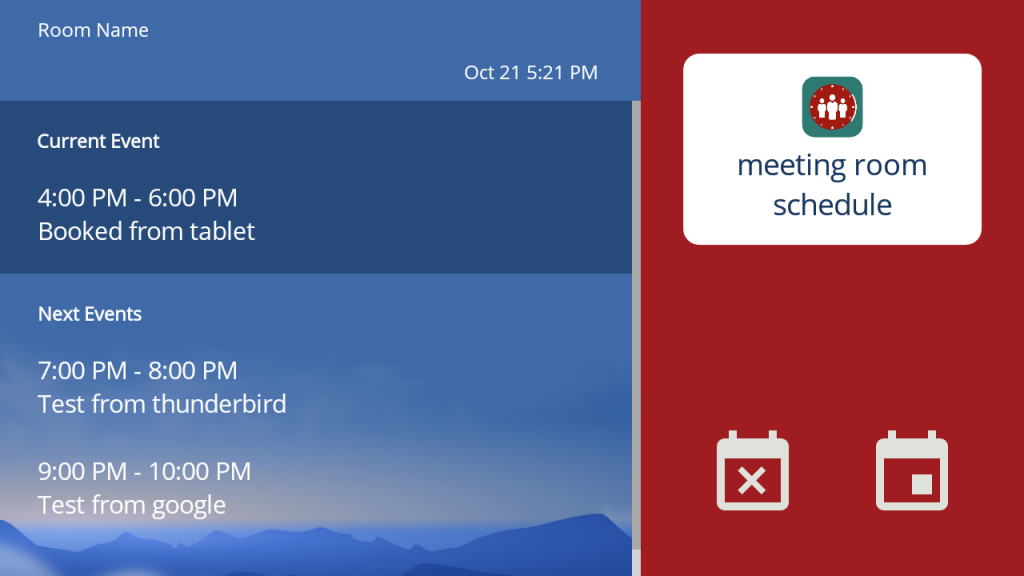
This is how it looks like altogether. Connect the Meeting Room Schedule Door Display to the Google calendar and enjoy the bi-directional integration you created to manage your meeting rooms more efficiently. The current meeting meeting below has been created from the door display. The other two are the test events created above.
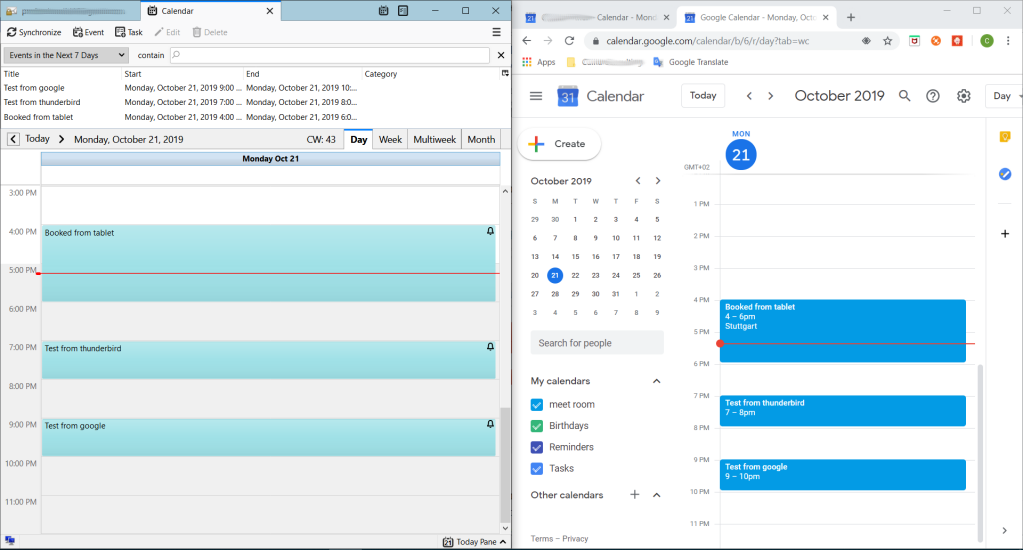
This is how it looks on your door display. You can book from the display, release from the display. No-show meetings are going to be auto-released if nobody has checked-in. The described behaviour is optional and can be fine-tuned in the settings. The setup of the Gmail calendar in the Meeting room Schedule app is described here.
