How to connect Meeting Room Schedule in a Exchange Hybrid environment?
You can connect to your Microsoft 365 (formerly known as 0365)/Microsoft Exchange resource calendar using multiple options. The Meeting Room Schedule allows you to connect to a calendar associated with a user account as well. This entry shows how to connect to a resource directly. The direct method to connect to a resource to Microsoft 365 (formerly known as 0365) or Exchange is described here. It’s very straightforward and should work for 90% of business environments. It needs a visit in the 0365/Exchange directory where resources are listed and delivers the credentials needed by the door display solution. Reset the password and you’re done. The average skilled Administrator should be able to do this within 5-10 minutes. Check our blogpost about Delegate Access if you prefer to connect using a more advanced concept. If the user is not allowed to give consent, and admin approval is required, then how to send an approval request is described here.
If you’re using a hybrid environment with Microsoft Exchange and Microsoft 365, you may need to connect a hybrid resource (such as a meeting room calendar) to Meeting Room Schedule. This guide will walk you through creating and configuring a hybrid resource, setting the necessary permissions, and linking it to Meeting Room Schedule.
Step 1: Create a Hybrid Resource in Exchange
- Open Exchange Admin Center (EAC) by visiting:
https://<ExchangeServerFQDN>/ecp
(Example: https://win-7cceha8i8vr.exchange.local/ecp)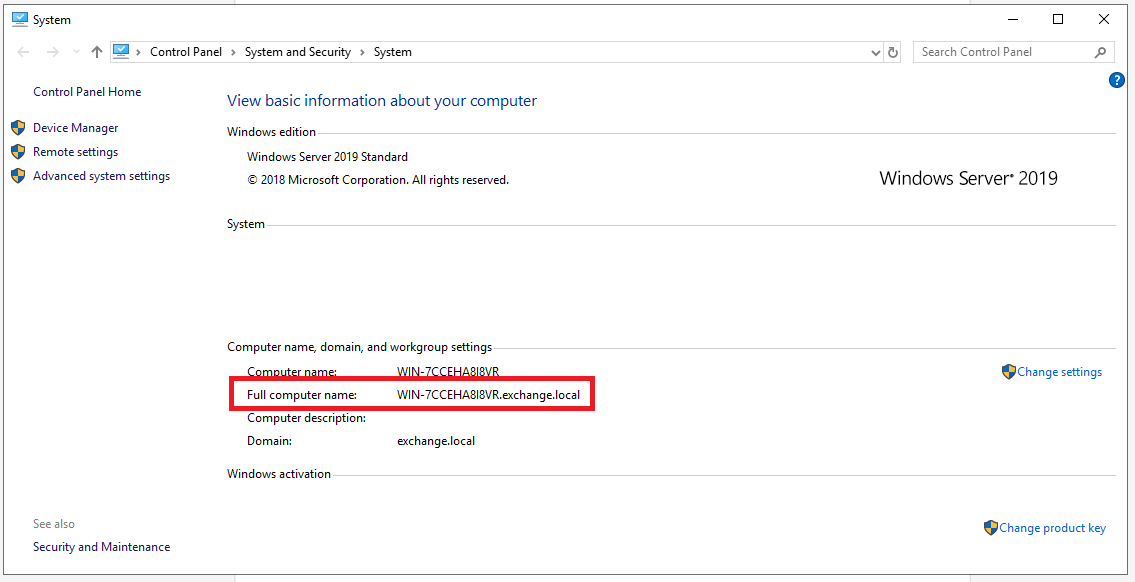
- Sign in using your Exchange admin account.
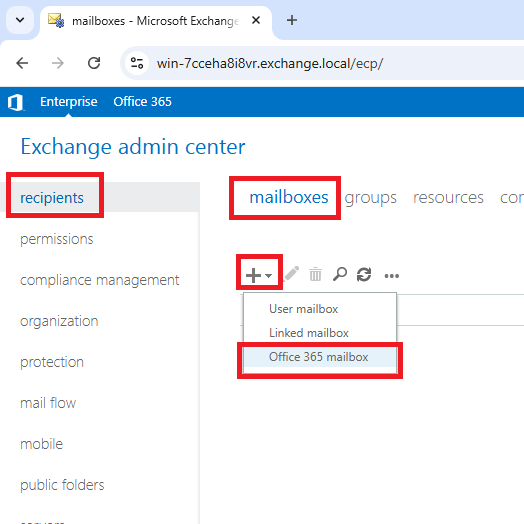
- Once signed in, navigate to:Recipients > Mailboxes
- Click the “+” (plus) icon and select Office 365 Mailbox.
- Enter the required details:
Choose a verified domain (e.g., scheduledisplay.com)
Set the mailbox type to Room mailbox
Click Save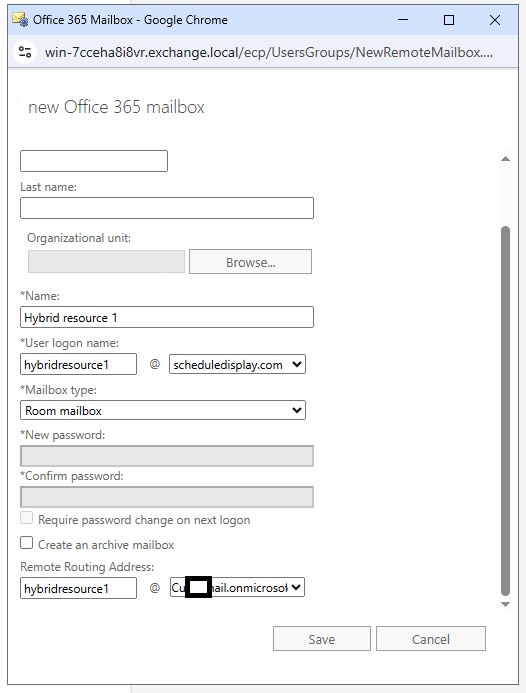
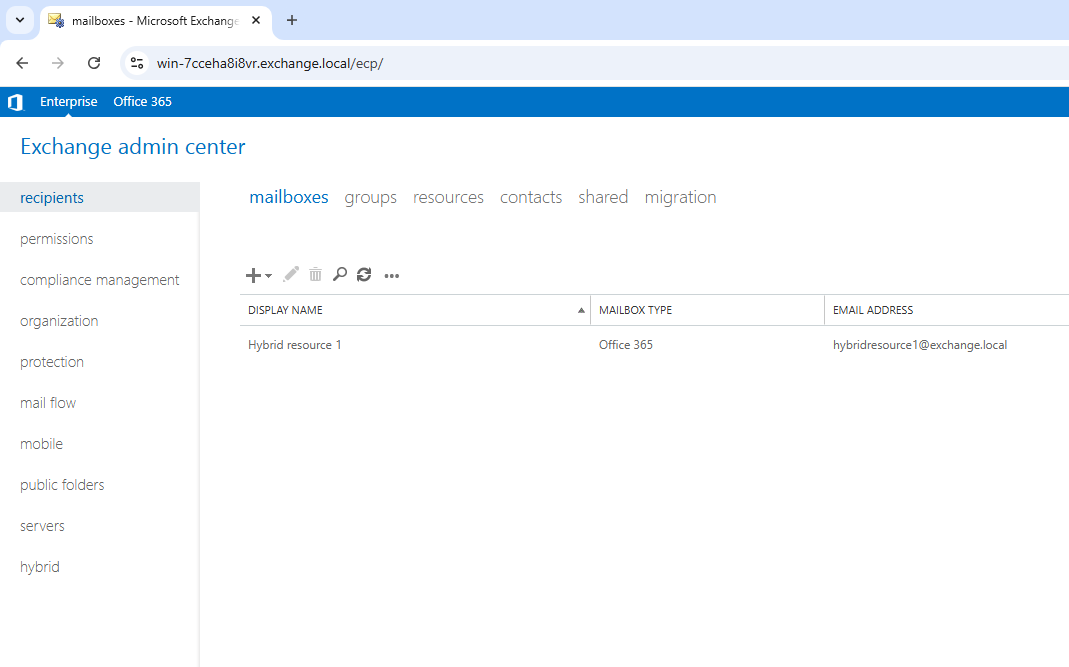
- The new resource will appear in Microsoft 365 after synchronization using Azure AD Connect. To force a sync, open Exchange Management Shell and run the following command:
Start-ADSyncSyncCycle -PolicyType Delta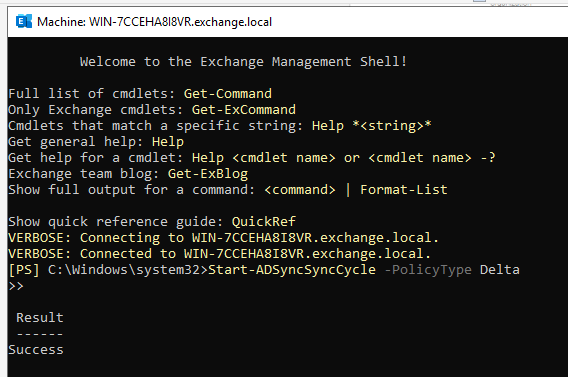
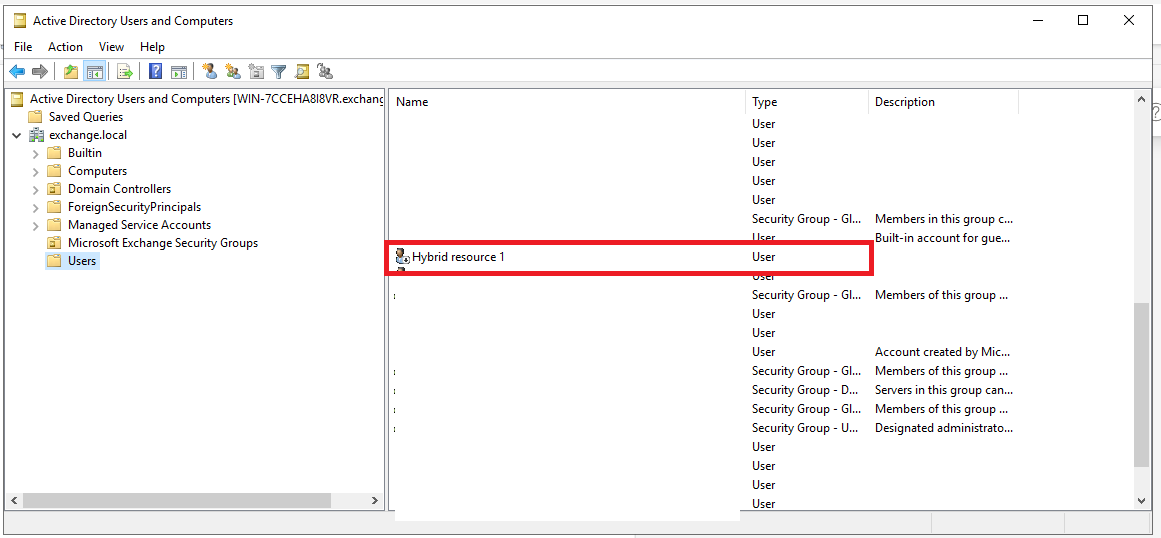
- After synchronization, the resource should also appear in Active Directory Users and Computers
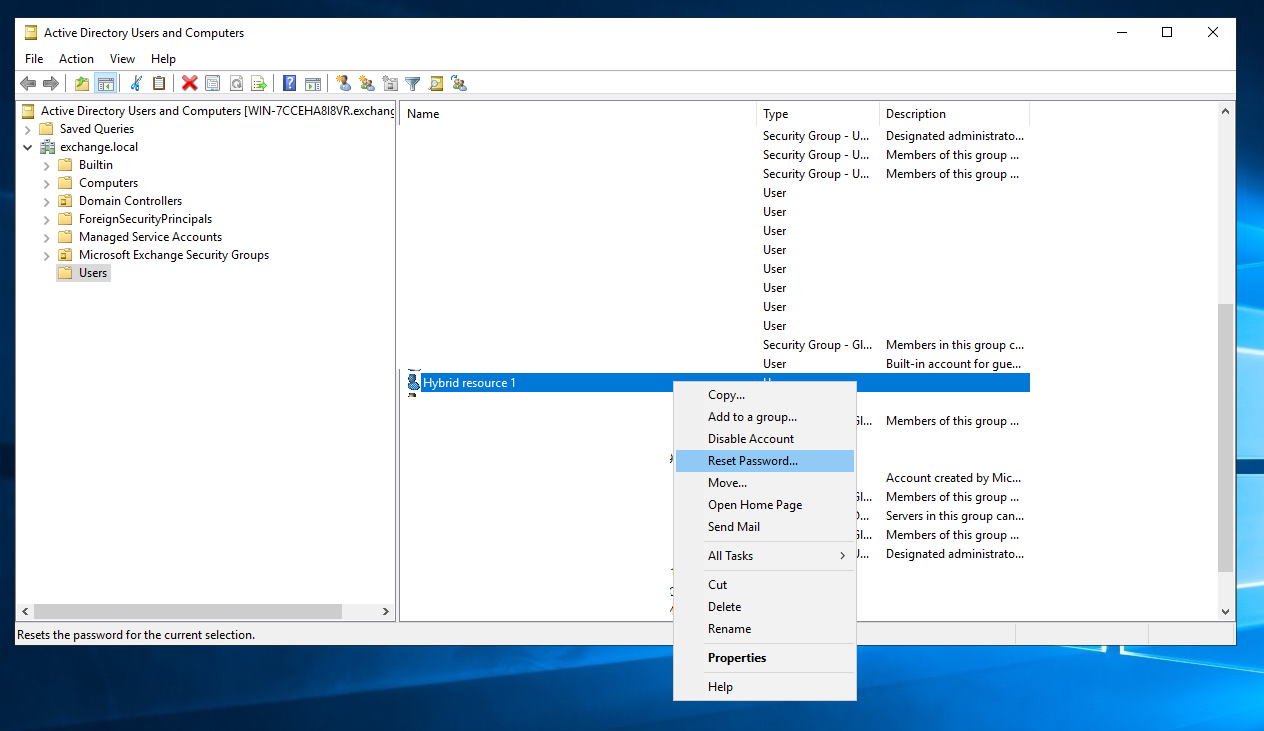
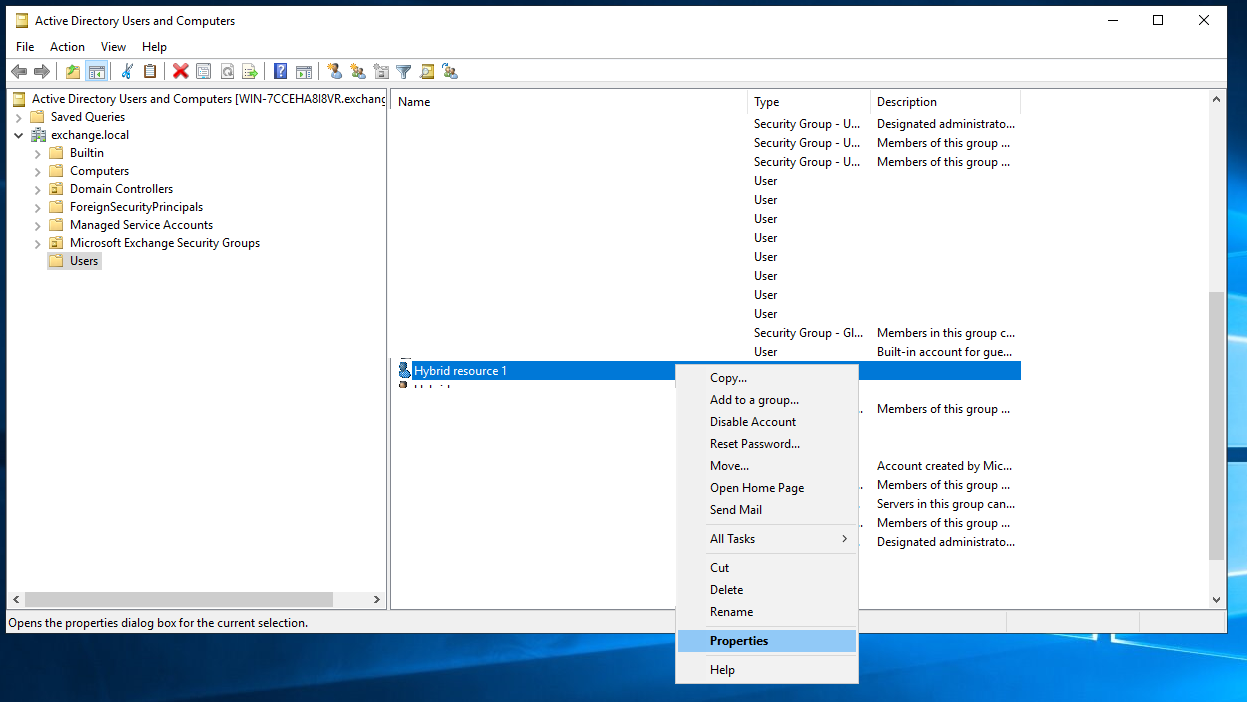
- In Active Directory Users and Computers right-click the new resource and choose Reset Password.
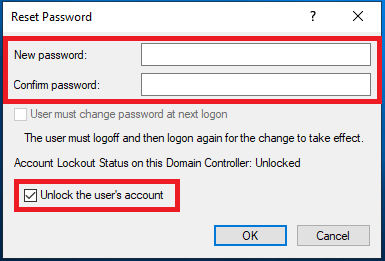
- Enter a new password and select Unlock the user’s account.
- Right-click the account again, select Properties.
- Go to the Account tab: read this article for more details
Check Unlock account
Check Password never expires
Uncheck Account is disabled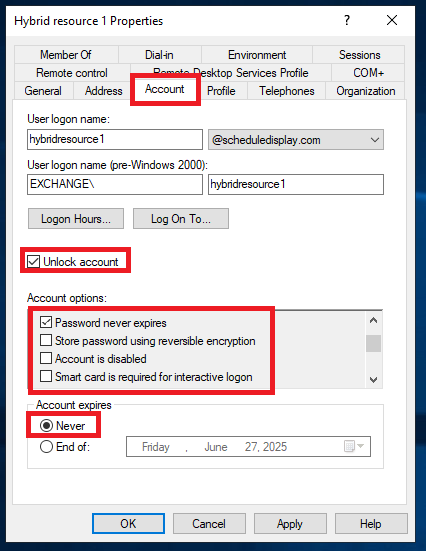
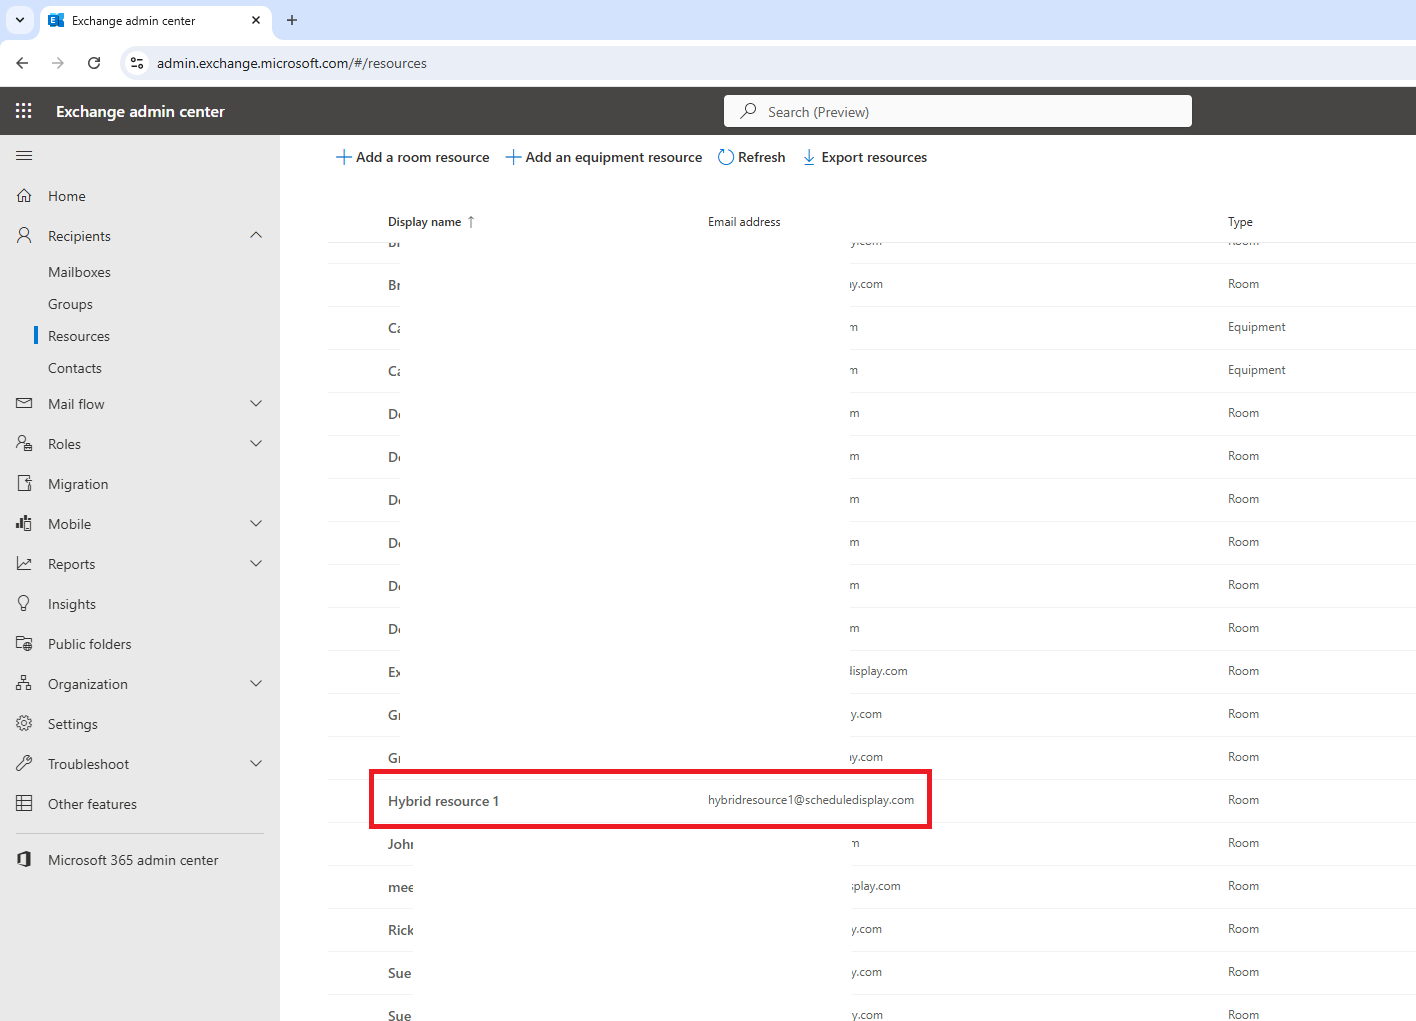
- Sign in to Exchange Admin Center (Online) using your admin credentials. Navigate to Recipients > Resources. Confirm the new hybrid resource is listed.
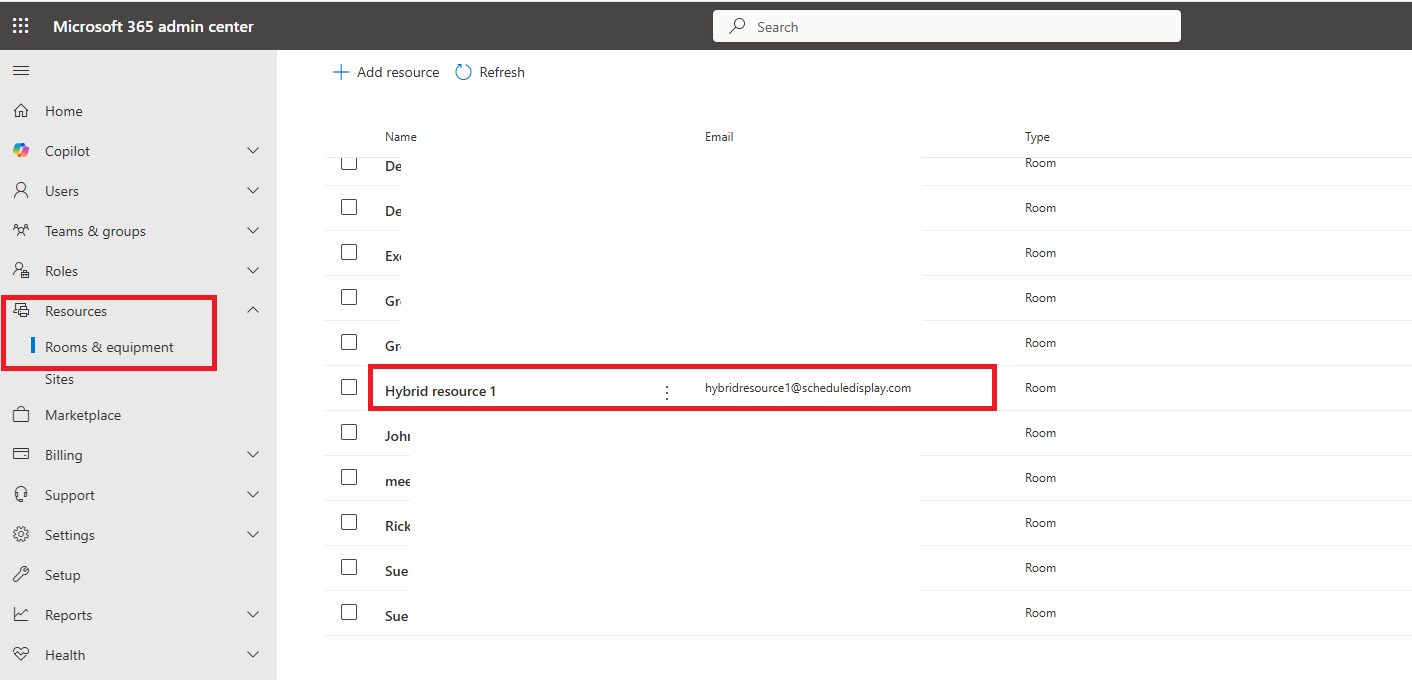
- Sign in to Microsoft 365 Admin Center (Online) using your admin credentials. Navigate to Resources > Rooms & equipment. Confirm the new hybrid resource is listed.
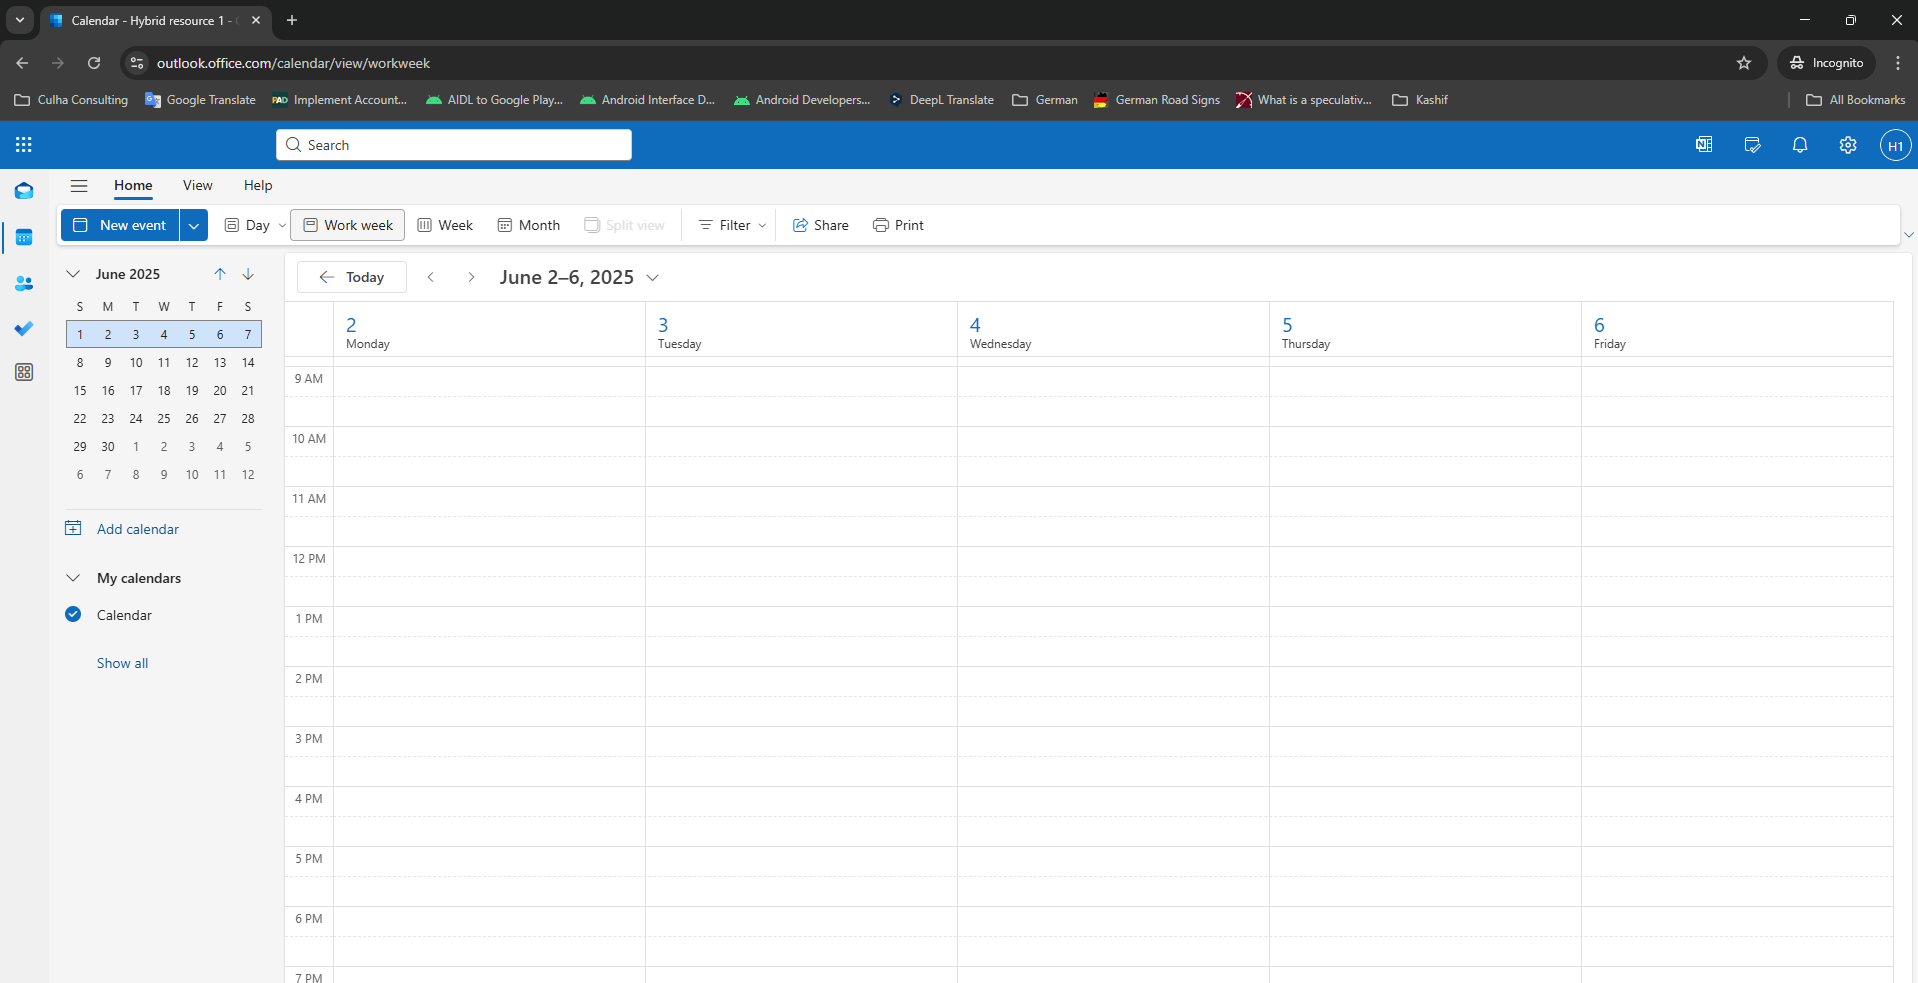
- Visit https://outlook.office.com/mail/
- Sign in using the hybrid resource email and the password.
- You should be able to access the mailbox.
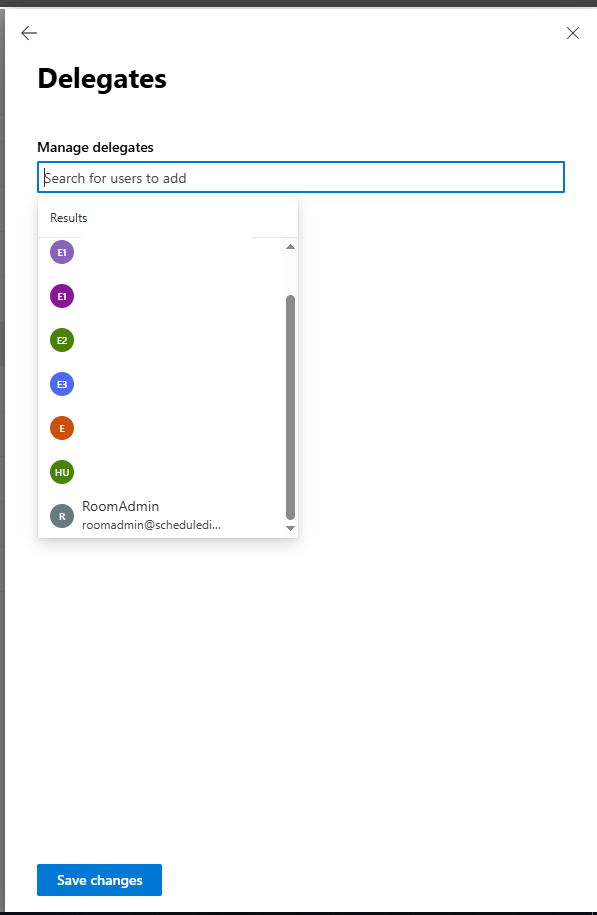
Step 2: Assign Delegation Permissions
You can do this from either Exchange Admin Center or Microsoft 365 Admin Center.
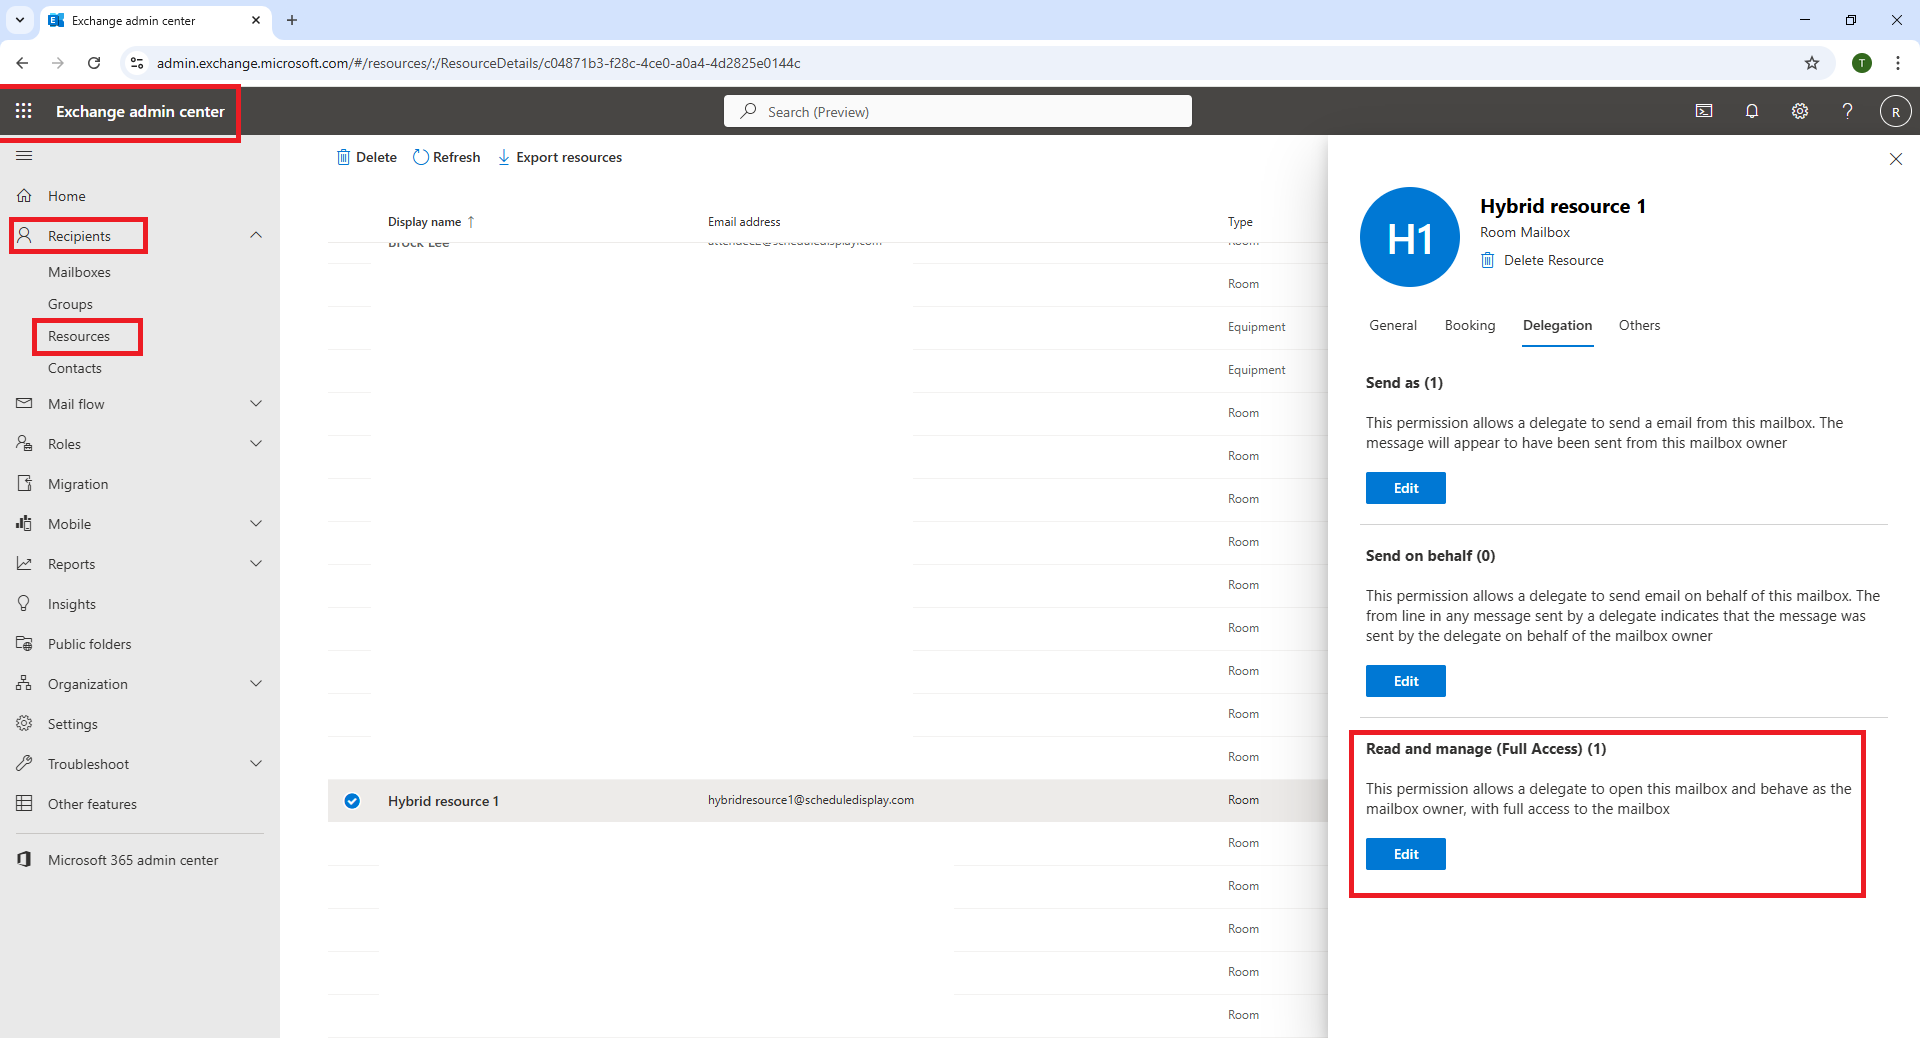
Option 1: Exchange Admin Center
- Go to Recipients > Resources
- Select the hybrid resource
- Click on Delegation > Read and Manage (Full Access) > Edit
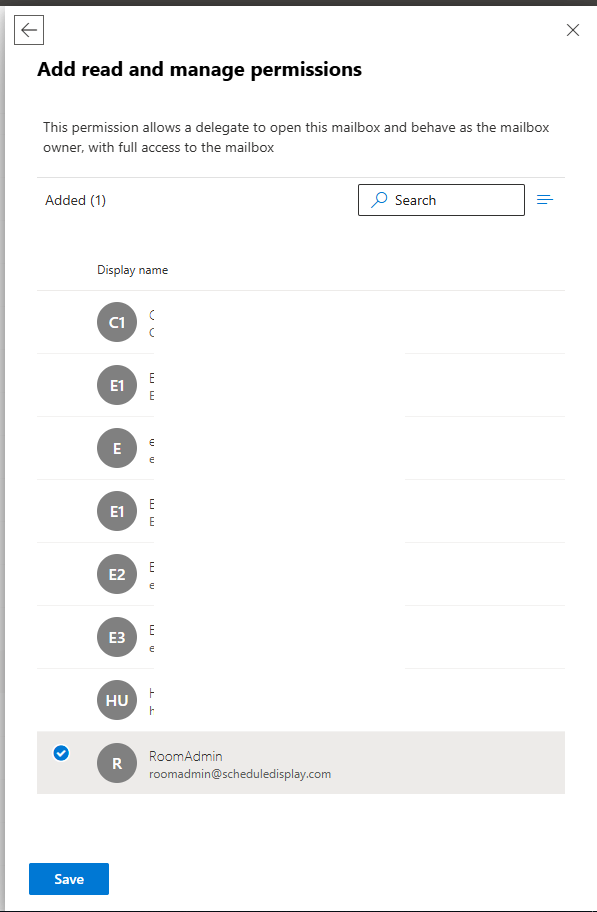
- Click Add members, select the user, and click Save.
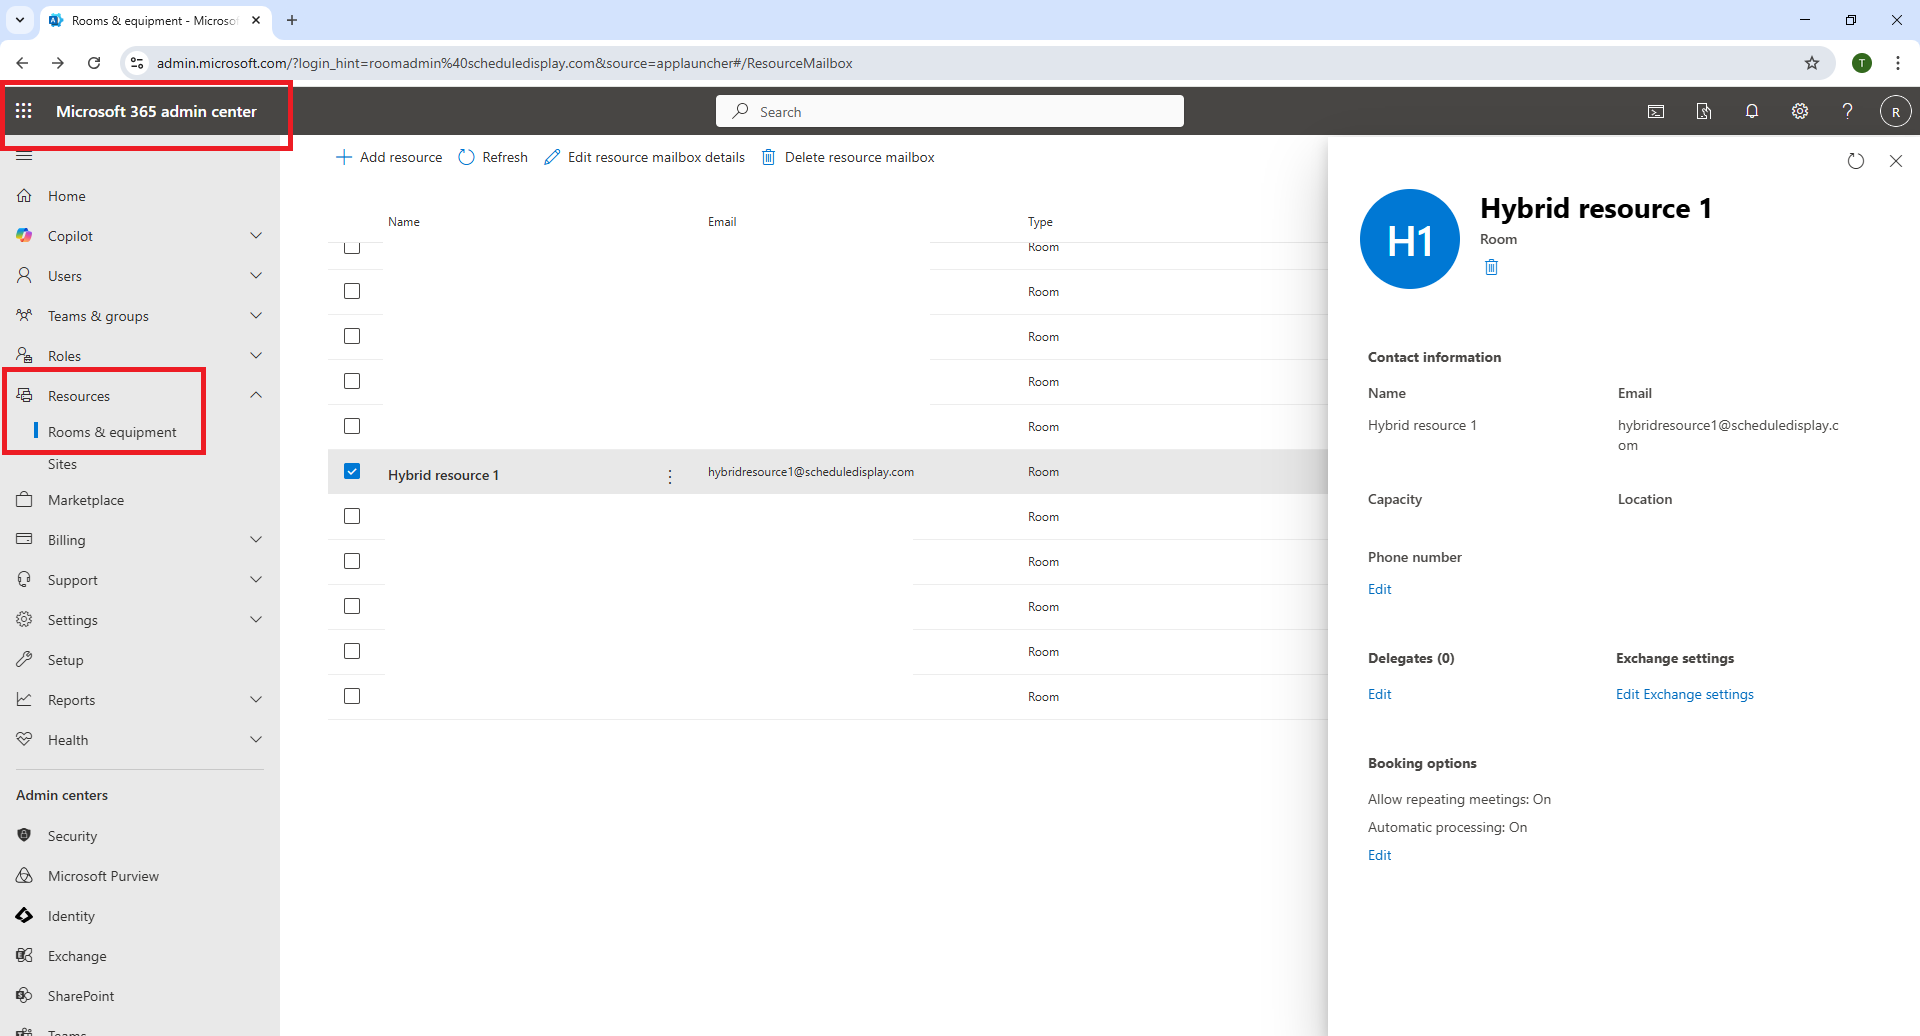
Option 2: Microsoft 365 Admin Center
- Go to Resources > Rooms & Equipment
- Select the resource, click Delegate and then Edit
- Add the user and click Save.
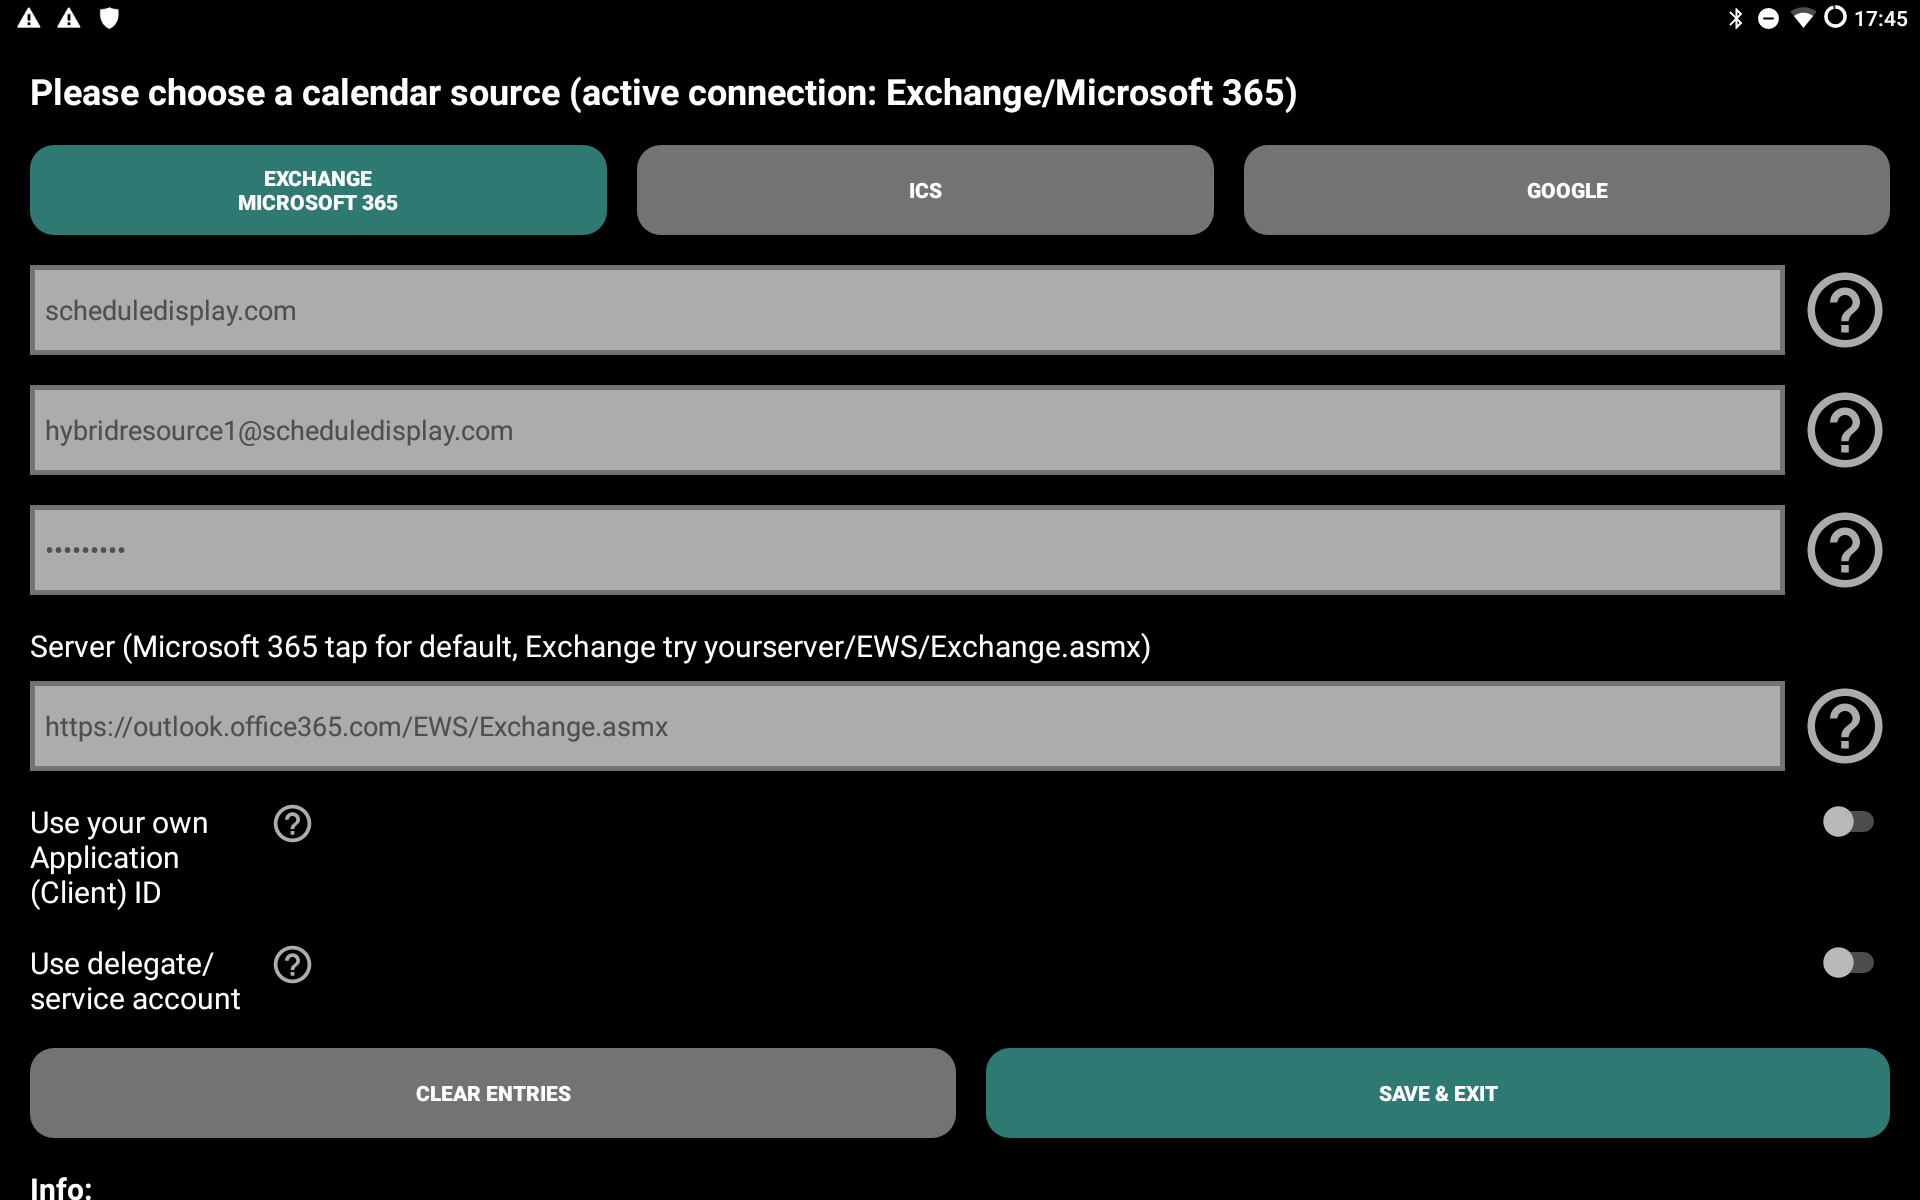
Step 3: Connect the Hybrid Resource to Meeting Room Schedule
- In the Meeting Room Schedule app go to Settings > Admin settings > Exchange / Microsoft 365.
- Enter the hybrid resource credentials, click Save and Exit
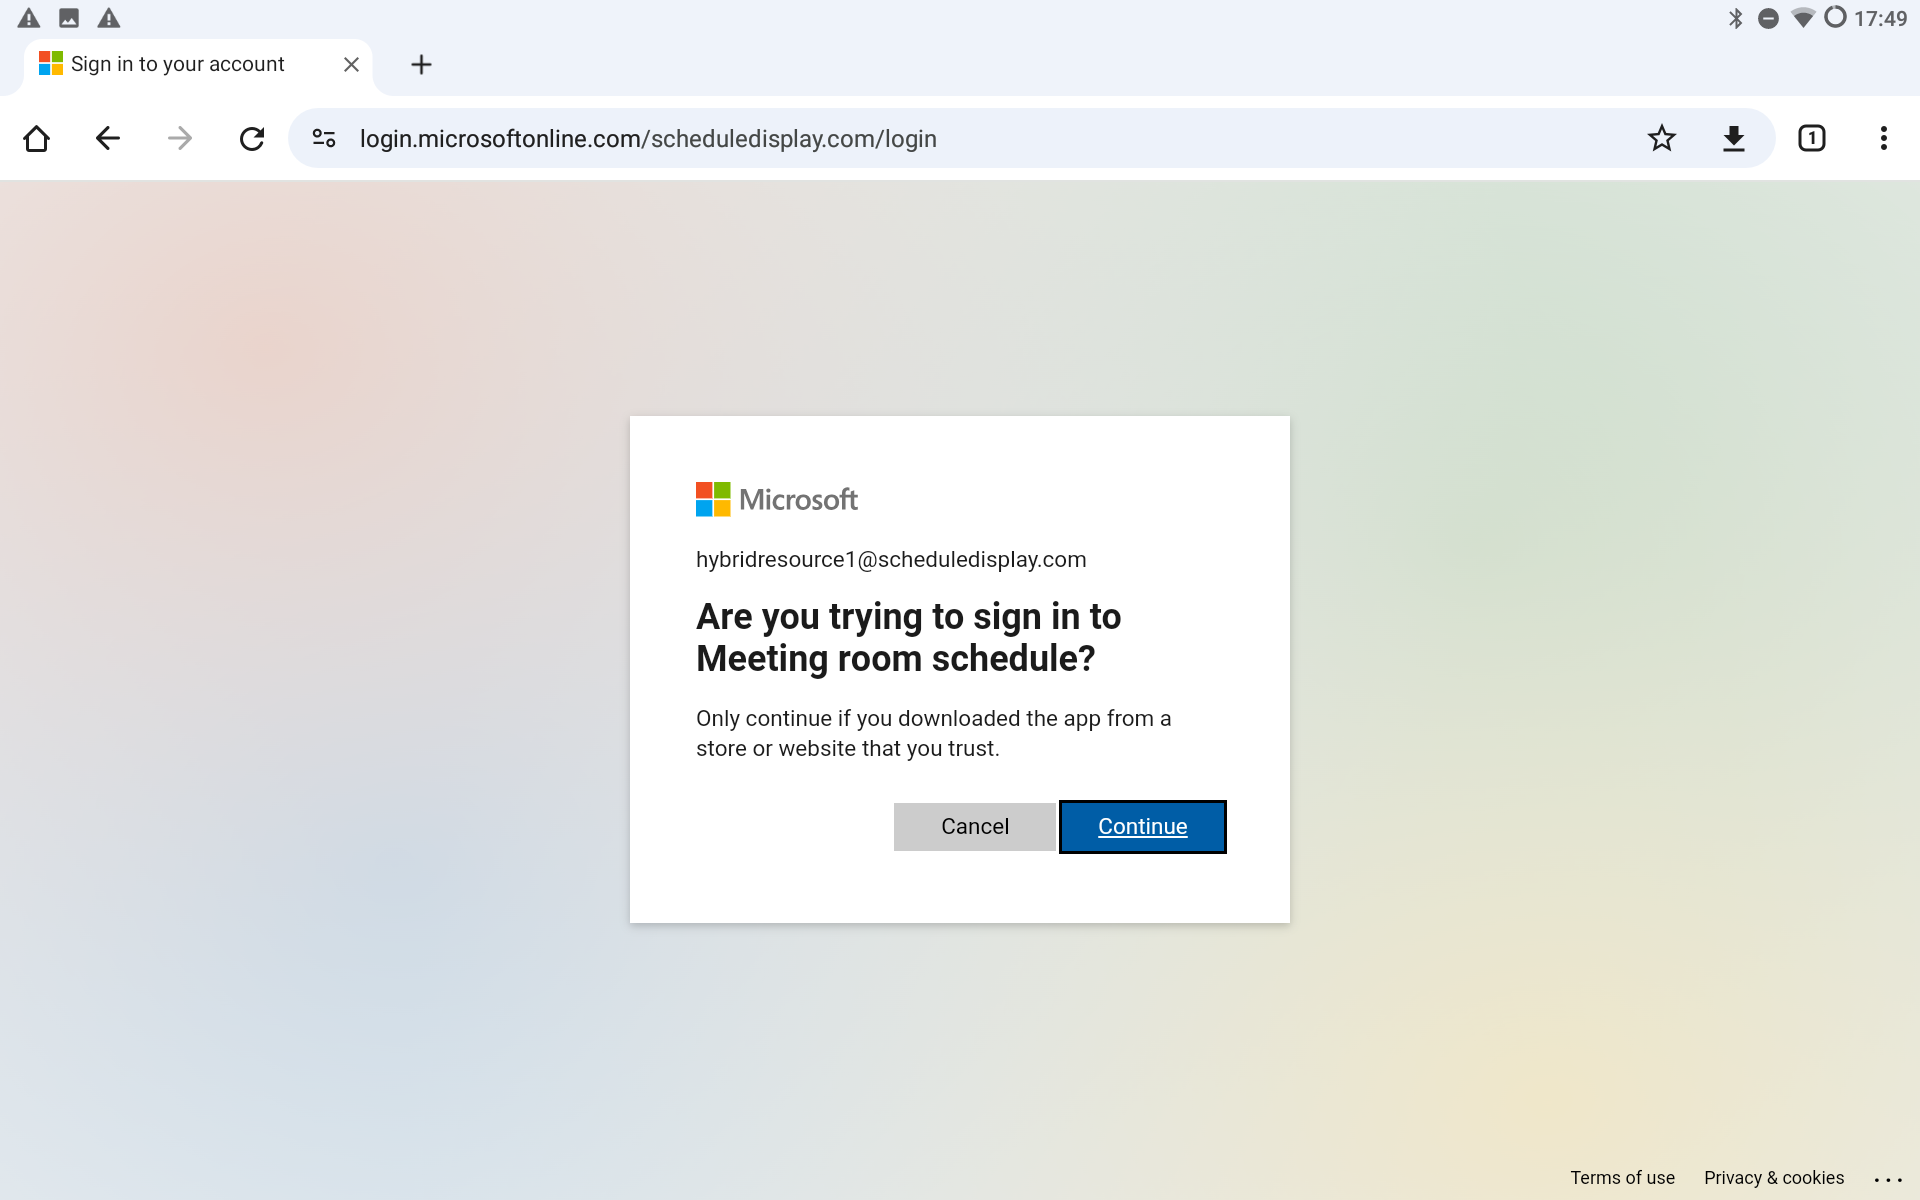
- Copy the code and click OK.
- Sign in using the resource account in Microsoft sign-in popup.

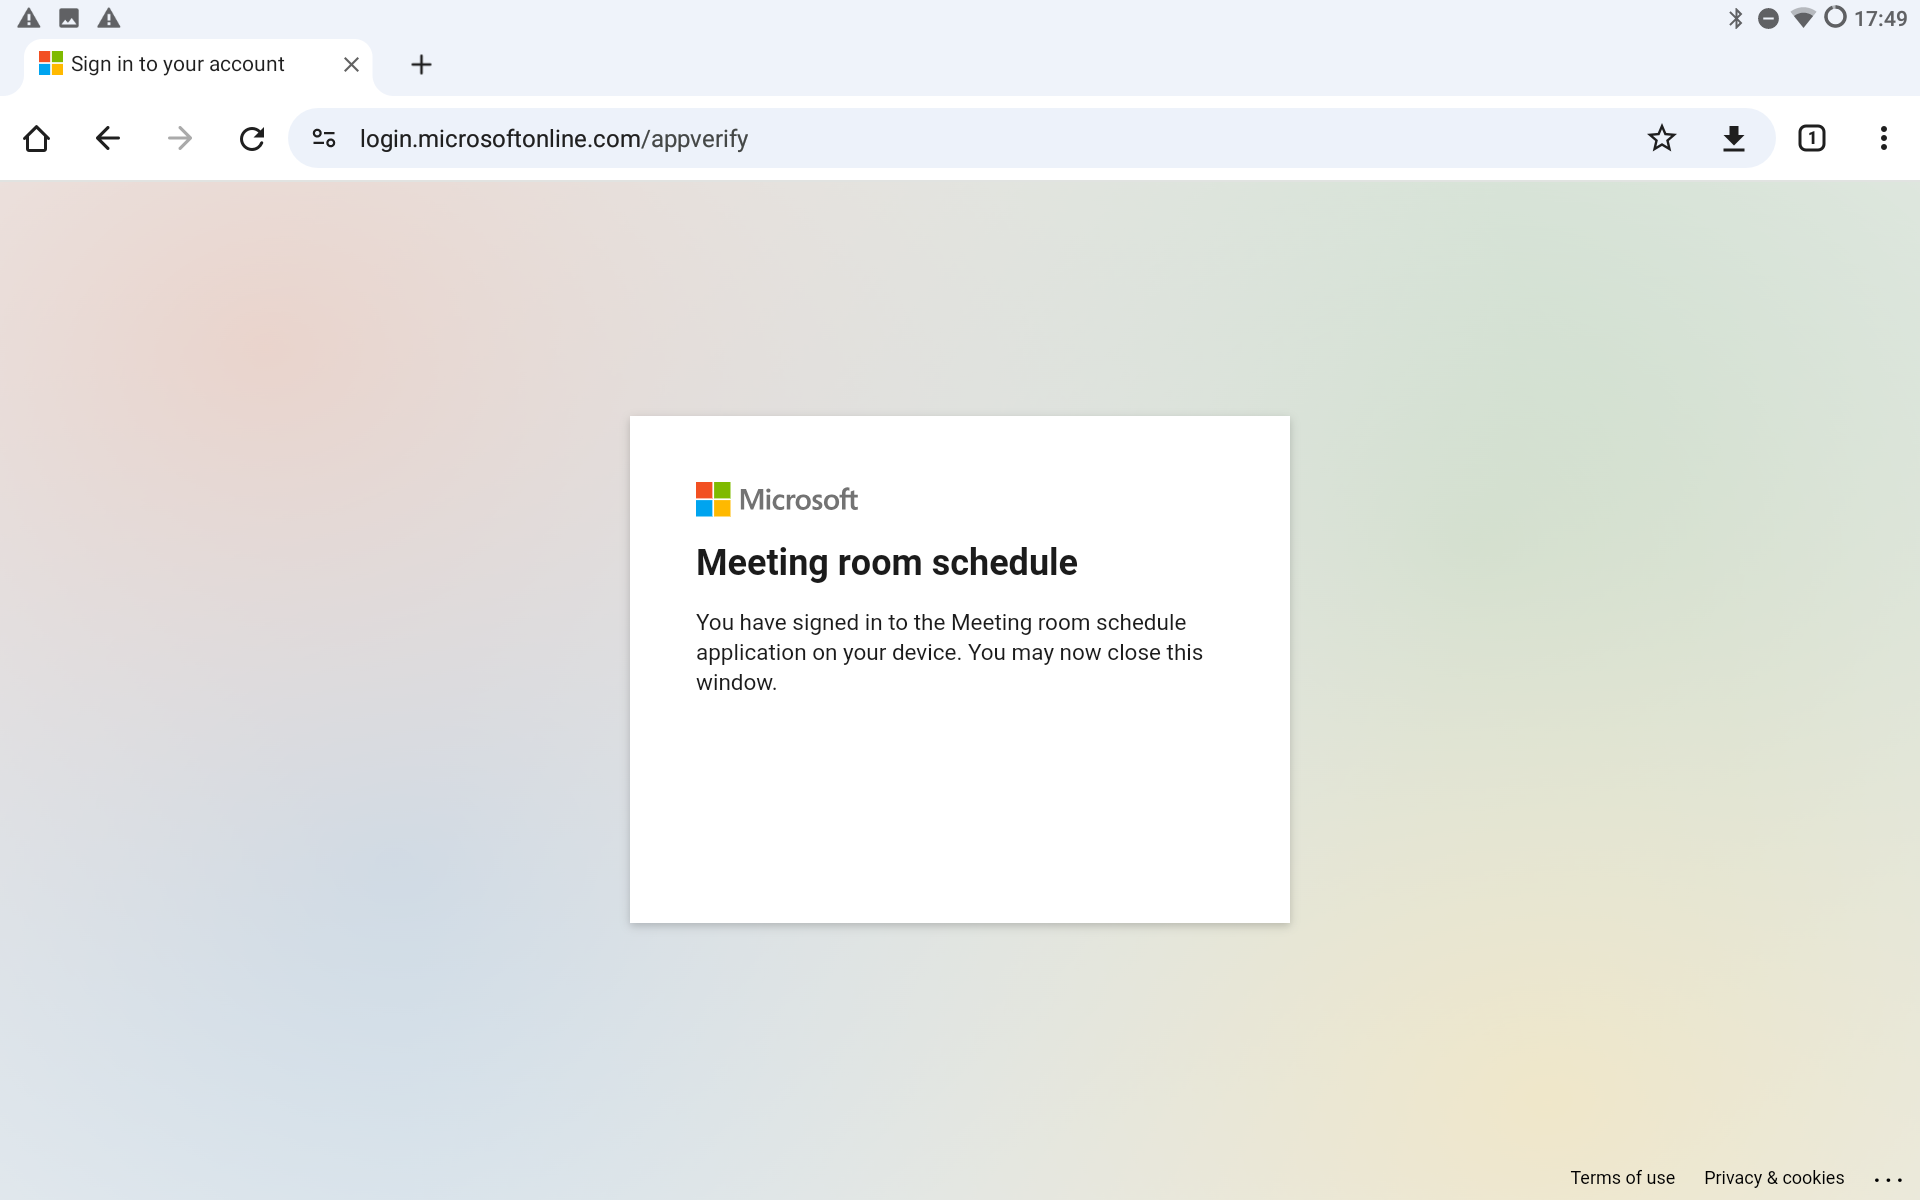
- The resource will now be connected with MRS
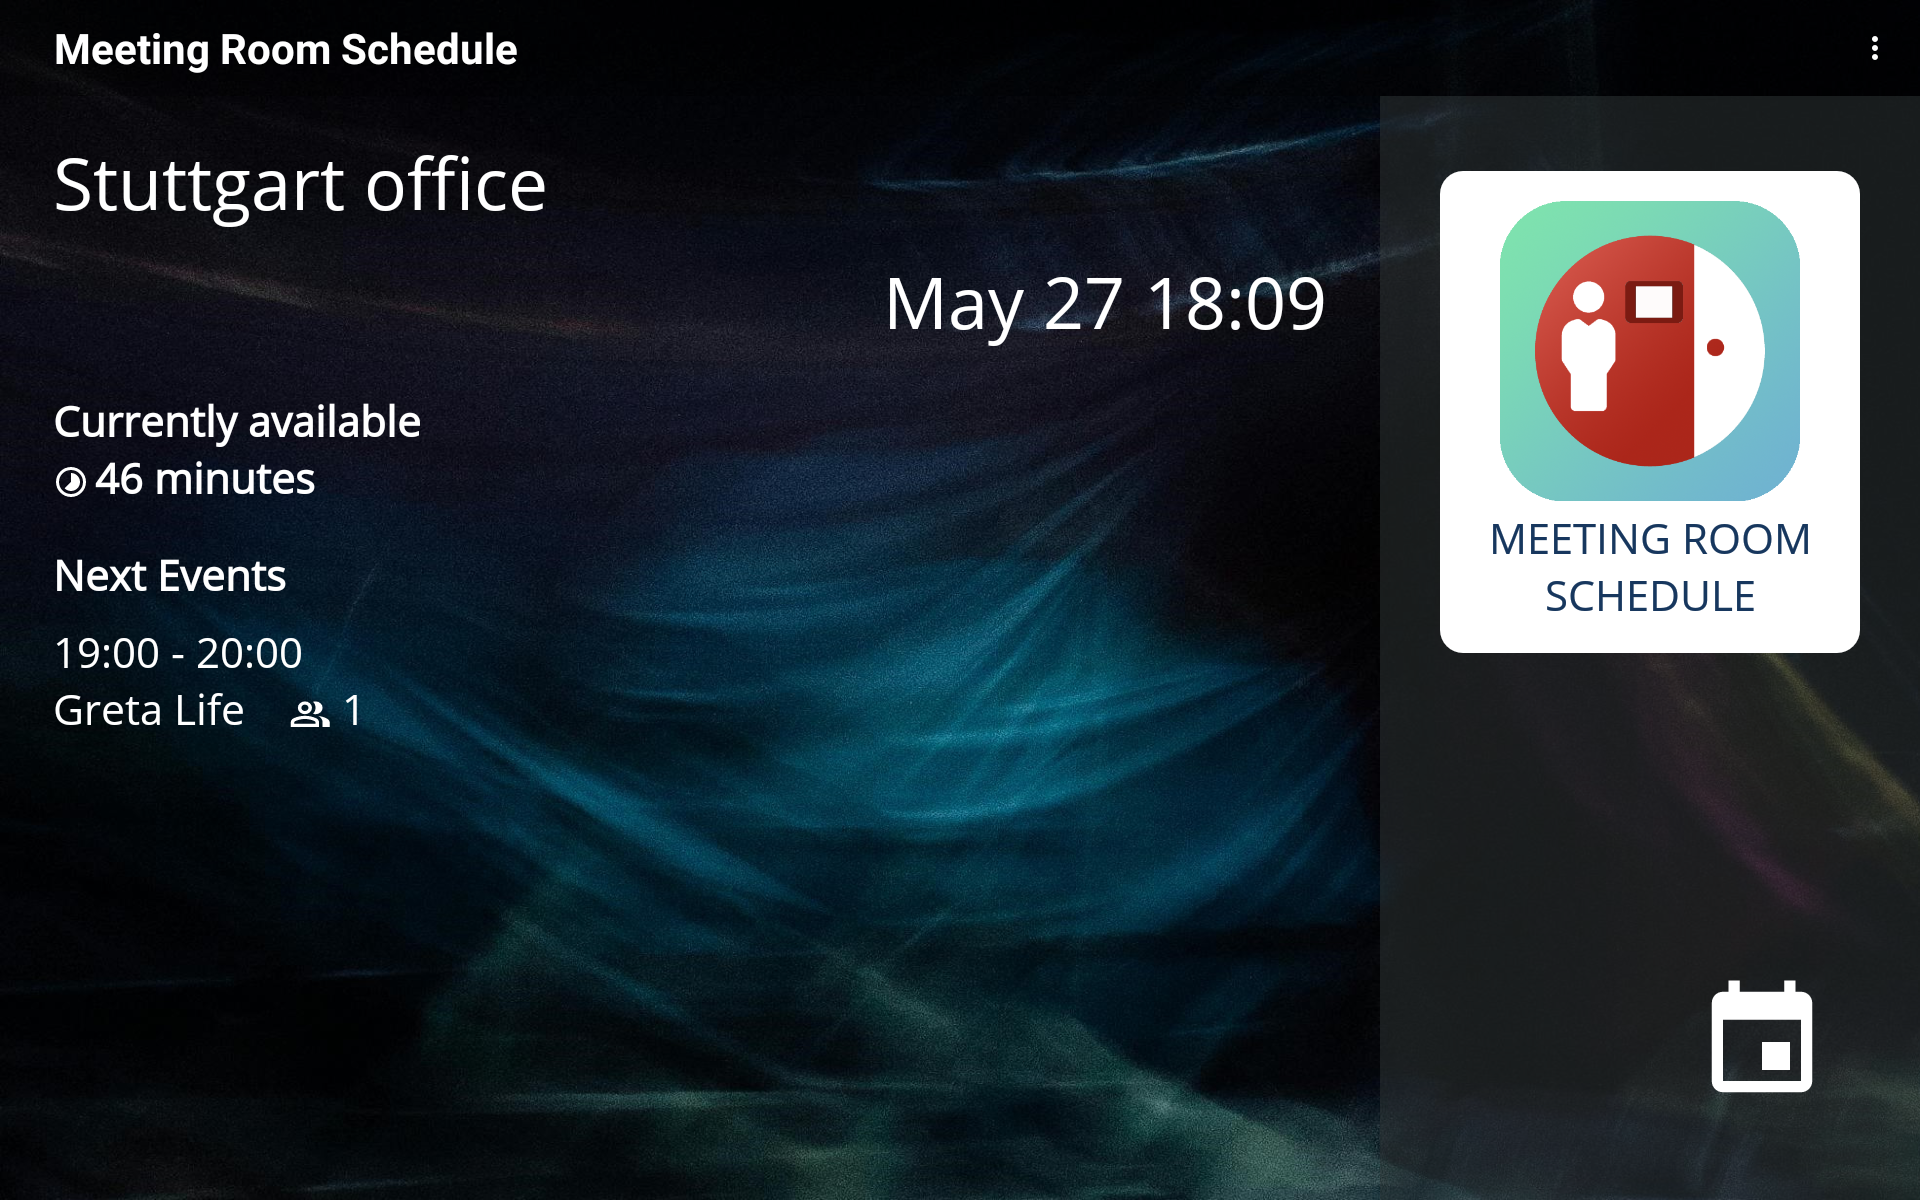
Step 4: Test the Connection
- Send a calendar invitation to the hybrid resource.
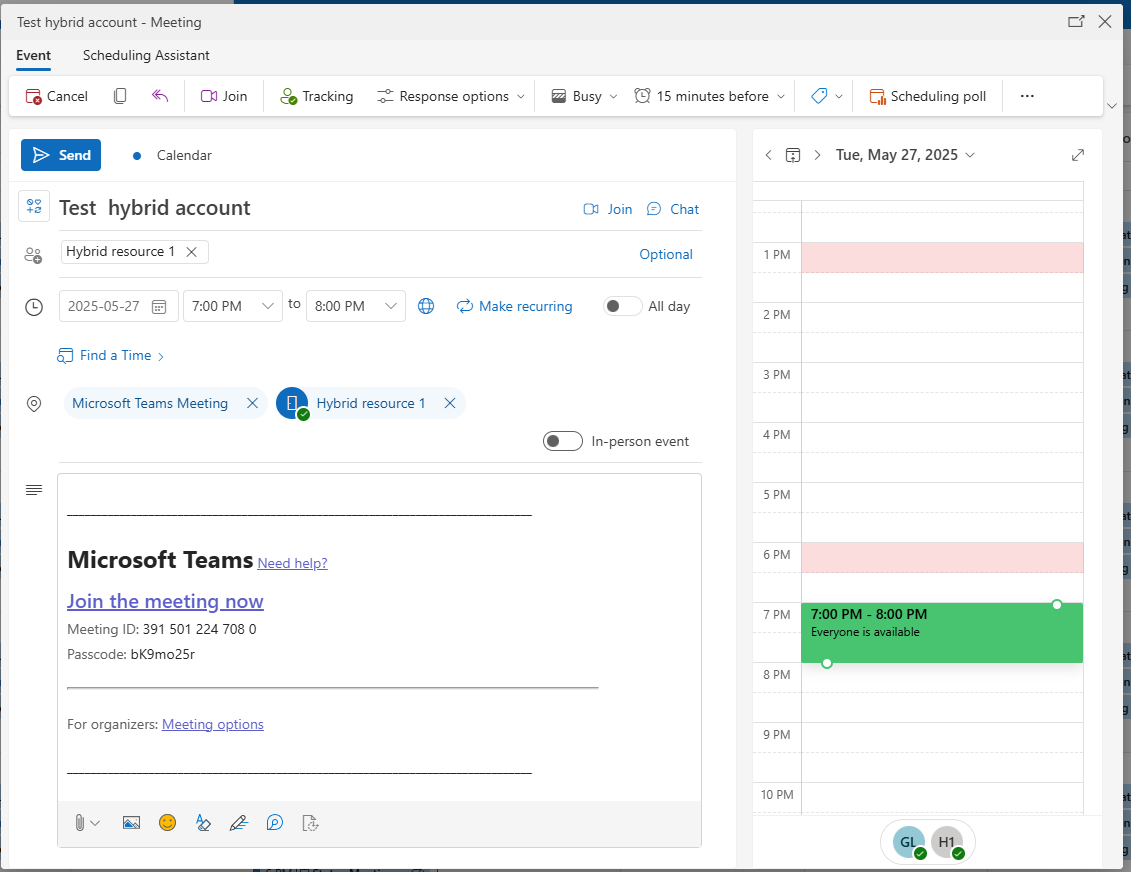
- Open the hybrid resource’s calendar, the event should appear there.

- The event should also sync and appear in Meeting Room Schedule.
Leave a Comment