Google Workspace integration with Meeting Room Schedule
Google Workspace (formerly G-Suite) Integration with Meeting Room Schedule allows you to display events from a Google Workspace resource calendar on the door tablet display. If you are new to Google Workspace, and wondering where to start, Google Workspace set up page will be the best place to begin. For admins who already have a Google Workspace account and want to configure the conference room resources and resource calendars, this page here is the ultimate cheat sheet. It gives you an overview of how to create, configure and use conference room and team calendars.
In this article we give a quick over view of how to create a resource and connect the resource calendar to Meeting Room Schedule.
Step 1 : Create a meeting room resource
- As an admin user sign in to the Google Admin Console
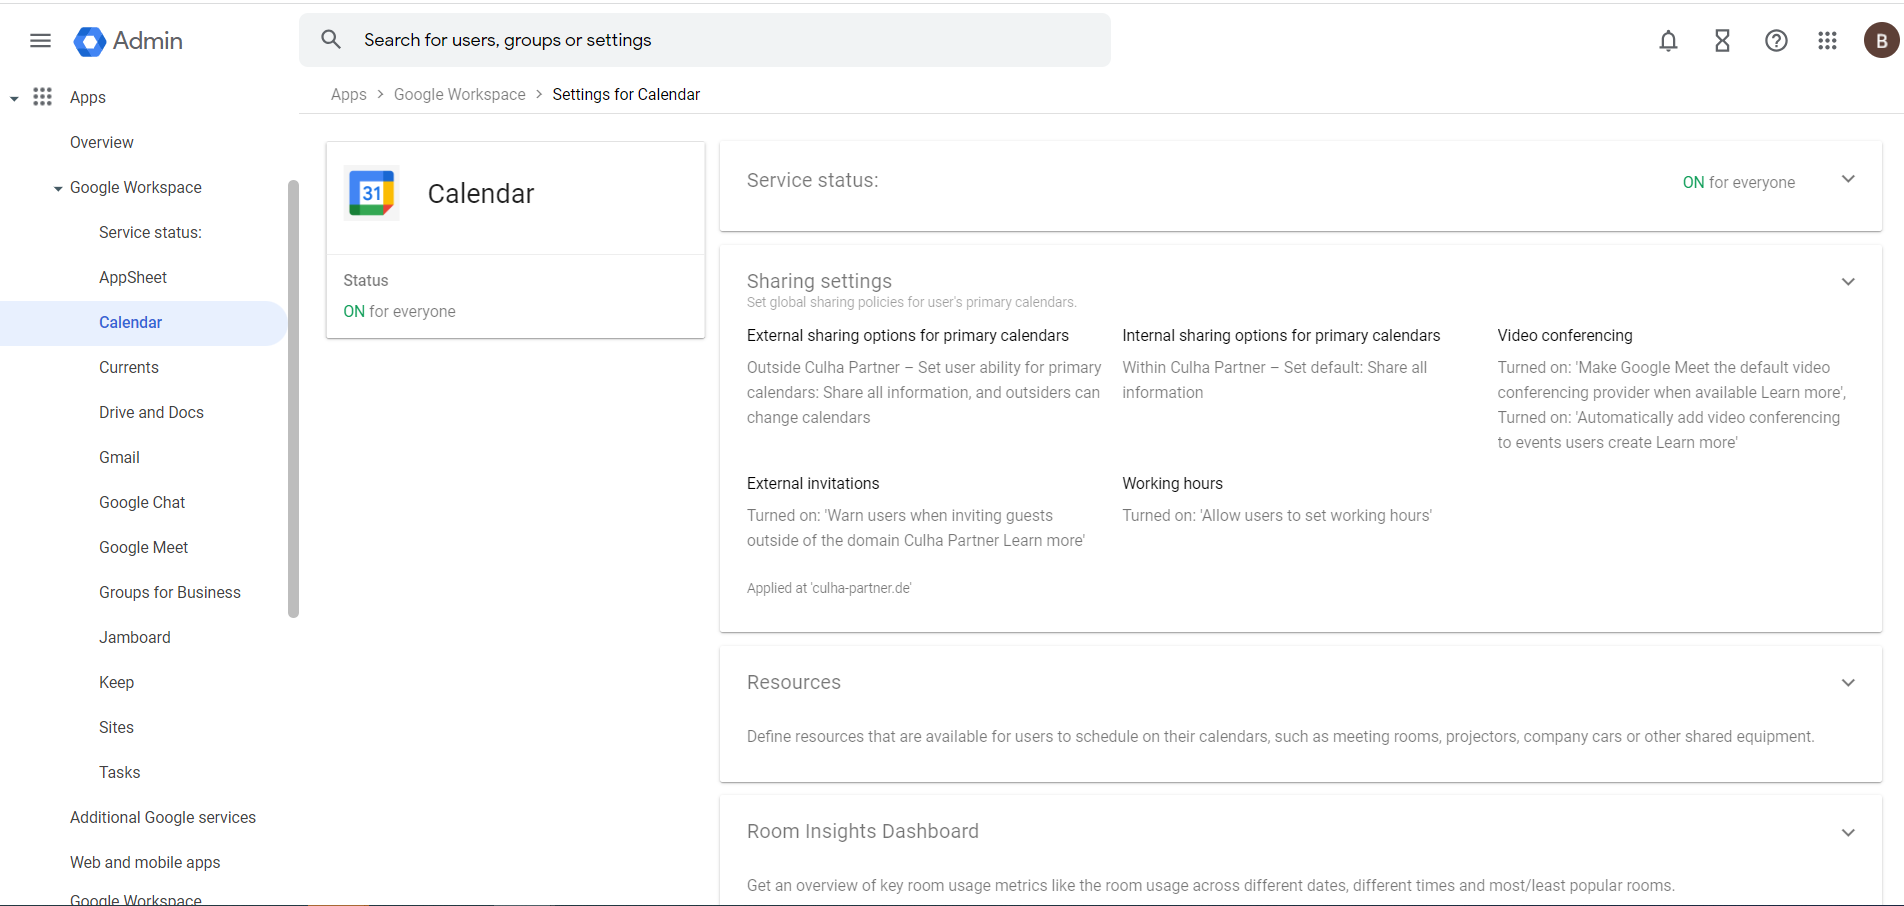
- Click on Apps > Google Workspace > Calendar to go to calendar settings page.

- Click on the Resources tab to open resource settings.

- Click on Manage Buildings
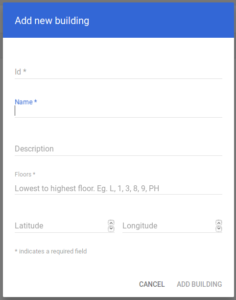
- Click on add building and enter the building details.

- Go back to the resources page and click on Add a resource button.

- Enter the resource details and create a new resource.

You can read more about configuring resources in the Google Help page
Step 2 : Manage the resource as Admin
- Open the Google Calendar app.
- Click on the + next to other calendar > Browse Resources and select the resource you want to configure.

- Check the resource you want to manage
- The selected resource will now appear under My Calendars (for admins only). Click on the 3 dots next to the resource and go to Settings and Sharing.

- Go to the section “Share with specific people” and click on “Add people”. Enter the Gmail account that you want to use to connect to Meeting Room Schedule display. Also, make sure that the account has permission to make changes to events, which means that the calendar owner is giving permissions to make changes in the shared calendar.

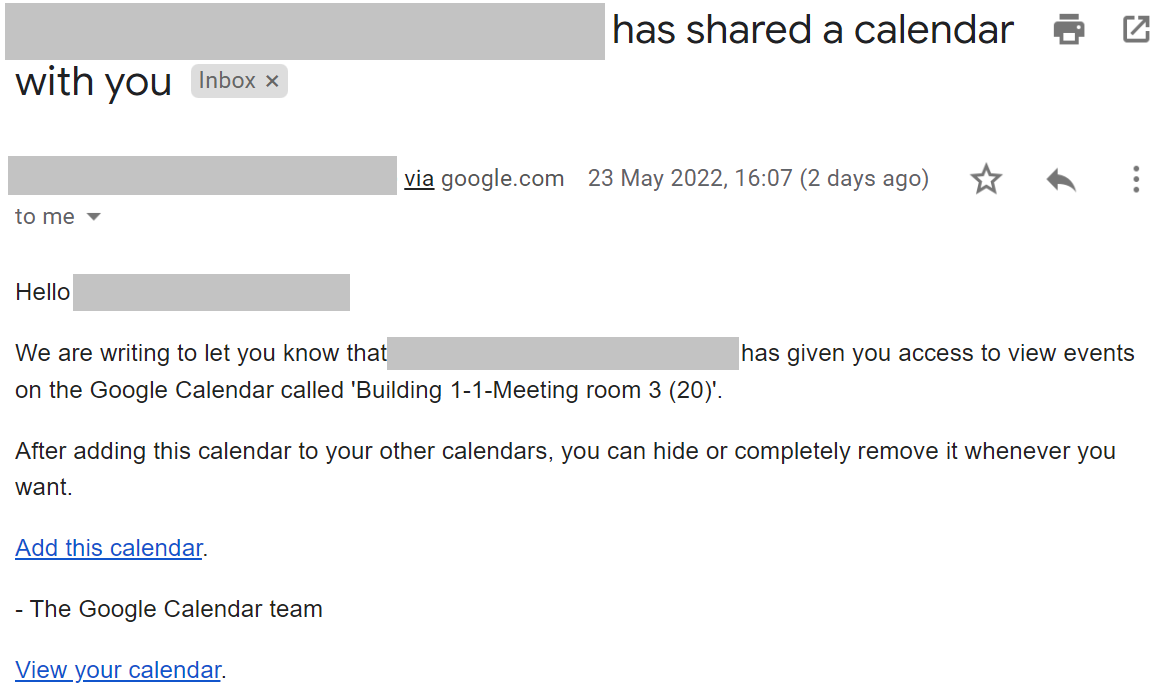
- That Gmail account will receive a notification to add the shared calendar to his calendars list.

- Click “Add this calendar”. The Google calendar will open and ask for the confirmation. Click “Add” in the resulting popup.

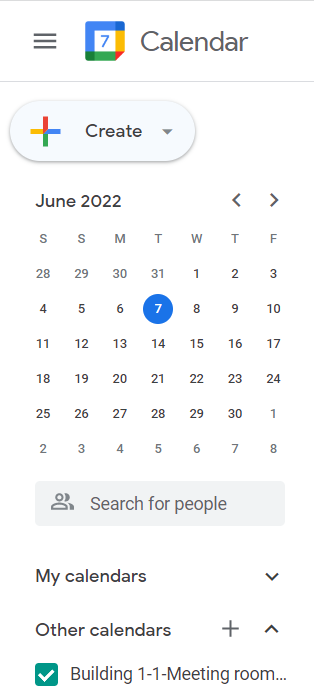
- After adding this calendar, it will be visible in the list of Google calendars.

- Set Auto-accept invitations value to Auto-accept invitations that do not conflict.

Step 3 : Connect to Meeting Room Schedule
The last step is to connect your resource calendar to Meeting Room Schedule. For this, you have to follow the below steps and connect to the calendar using the gmail account added in the last step.
- Open Meeting Room Schedule App
- Goto Settings > Connection Settings > Google
- Choose your Google calendar account. (if not added in the tablet, choose Add account option)
- Select the subscribed calendar
- Lastly, Click on Save and Exit.
Read detailed steps on connection settings in our quick set-up guide